
Key Highlights
- Metal roofs offer exceptional durability, longevity, and energy efficiency, making them a popular choice for homeowners.
- Before installation, assess your current roof condition, including the sheathing and flashing, to ensure a smooth process.
- Choosing the right metal type, panel style, and color is crucial for both aesthetics and practicality, considering local climate and budget.
- Proper tools and equipment are essential for safe and efficient installation, such as measuring tools, safety gear, and cutting tools for metal panels.
- Hiring a professional roofing contractor is highly recommended, as they possess the expertise and experience for a successful metal roof installation, ensuring warranty coverage and compliance with building codes.
Introduction
A metal roof is an investment that can significantly enhance your home’s protection, energy efficiency, and aesthetic appeal. Compared to traditional roofing materials, metal roofs provide unparalleled durability, longevity, and a modern look. However, proper planning and preparation are essential to ensure a successful metal roof installation. This beginner’s guide will walk you through the key factors to consider before embarking on your metal roof project.
Understanding Metal Roofs
A metal roof is a roofing system made from metal pieces, typically steel, aluminum, or zinc. These metal panels or shingles are designed to interlock or overlap, creating a watertight barrier for your home.
Unlike traditional asphalt shingles, metal roofing boasts remarkable longevity, often lasting several decades with minimal maintenance. They are also known for their energy efficiency, reflecting sunlight and reducing cooling costs.
Benefits of Choosing a Metal Roof
One of the most significant advantages of metal roofs is their exceptional longevity. With proper installation and maintenance, a metal roof can last 50 years or more, significantly outperforming conventional asphalt shingles. This durability translates to long-term cost savings, as you won’t need to replace your roof as frequently.
In addition to their longevity, metal roofs exhibit impressive durability. They are resistant to fire, rot, insects, and high winds, providing peace of mind and protection from the elements.
Furthermore, metal roofs are known for their energy efficiency. Their reflective properties can reduce heat gain in your home, leading to lower energy consumption and cost savings on cooling bills.
Common Types of Metal Roofs and Their Properties
Selecting the suitable type of metal roofing is essential for your project. Several options are available, each with its properties and benefits:
Standing seam metal roofs feature vertical panels with concealed fasteners, creating a sleek, modern aesthetic. These roofs are known for their exceptional weather resistance and are particularly well-suited for areas with heavy snowfall.
| Type of Metal Roofing | Properties |
|---|---|
| Steel | Durable, affordable, and available in various colors and finishes. |
| Aluminum | Lightweight, corrosion-resistant, suitable for coastal areas. |
| Zinc | Durable, low-maintenance, develops a natural patina over time. |
| Copper | Luxurious appearance, develops a distinctive patina, exceptional longevity. |
Carefully consider the pros and cons of each metal type to determine the best fit for your budget, aesthetic preference, and local climate.
Pre-Installation Considerations
Before diving into the installation process, there are crucial pre-installation factors to address.
These considerations help ensure a smooth and successful metal roof project, minimizing potential issues and ensuring the roof’s longevity and performance. From assessing your current roof condition to understanding local building codes, neglecting these aspects can lead to costly mistakes down the line.
Assessing Your Current Roof Condition
The first step is to thoroughly evaluate your existing roof’s condition. If you have old shingles, they must be carefully removed along with any existing flashing and underlayment. This removal allows you to inspect the roof sheathing for damage.
Inspect the roof sheathing for signs of rot, water damage, or structural issues. Any damaged or weakened sections must be repaired or replaced to provide a solid foundation for the new metal roof.
A smooth and even roof surface is vital for proper metal roof installation. Address any unevenness or imperfections by repairing or replacing damaged sheathing sections.
Necessary Permits and Local Building Codes
Before beginning your metal roof installation, check with your local building department to determine if you need permits. Building codes vary depending on your location and ensure that your new roof complies with safety and structural regulations.
Building codes often address aspects such as wind uplift resistance, snow loads, and fire ratings, particularly important for metal roofing due to its longevity. Adhering to these codes safeguards your investment and ensures a safe installation.
Failing to obtain the necessary permits or comply with local building codes can result in delays, fines, or even the removal of your new roof. It is always best to err on caution and consult with your local authorities.
What You Need to Get Started
Gathering the right tools and materials is essential for a smooth and efficient metal roof installation. Having everything on hand streamlines the process and prevents unnecessary delays.
From measuring tools and safety gear to specialized equipment for cutting and fastening metal panels, carefully planning your tool and material needs is crucial for a successful outcome.
List of Tools and Equipment
Having the right tools is crucial for proper metal roof installation. Here are some essential tools to have on hand:
- Measuring tape: Accurate measurements are crucial for ordering the correct amount of materials and ensuring proper panel alignment.
- Chalk line: Used to mark straight lines for cutting panels and ensuring consistent spacing.
- Circular saw with a metal-cutting blade or tin snips: For cutting metal roofing panels to size.
- Screw gun or drill with appropriate bits: For driving screws through metal panels and into the roof sheathing.
- Safety glasses and gloves: Protect your eyes and hands when handling sharp metal edges.
- Roofing ladder and safety harness: Ensure safety when working on the roof.
Remember that safety should be your top priority. Invest in high-quality safety equipment and use it consistently throughout the installation process.
Selecting the Right Metal Material
Choosing the right metal roofing material is crucial for performance, longevity, and aesthetics. Consider factors such as durability, corrosion resistance, and aesthetic appeal.
Steel, a popular option, is known for its affordability and durability. Aluminum offers excellent corrosion resistance, making it suitable for coastal environments. Zinc develops a natural patina over time, providing a unique and attractive finish. Copper, though expensive, boasts exceptional longevity and a distinctive aesthetic.
Each type of metal has pros and cons, so weigh your options carefully based on your budget, local weather conditions, and desired aesthetic.
Step-by-Step Guide to Metal Roof Installation
While hiring a professional roofing contractor is generally recommended for metal roof installations, understanding the step-by-step process is beneficial for homeowners.
This section provides a general overview of the installation process, highlighting the critical steps involved. However, remember that metal roof installation can be complex, and variations may exist depending on the specific type of metal roofing system you choose.
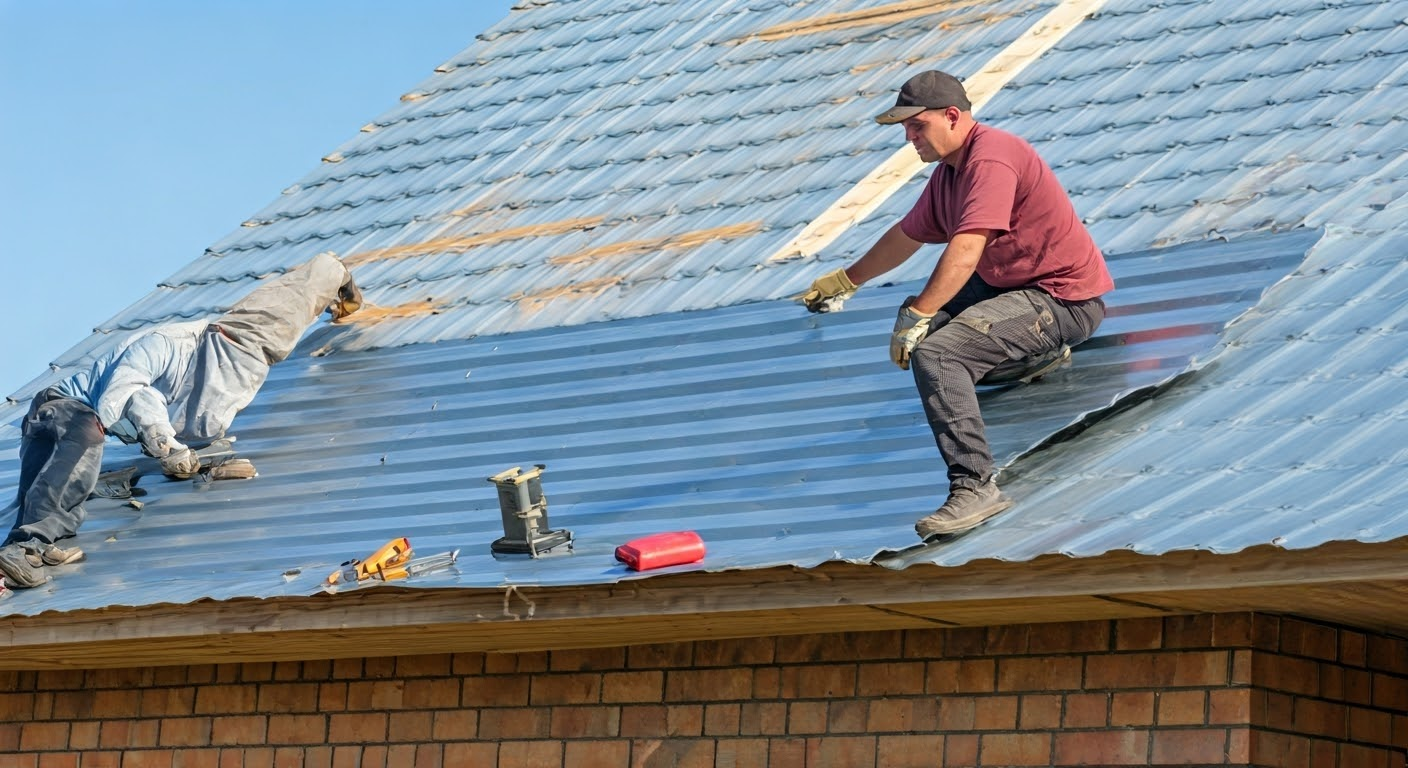
Step 1: Removing the Old Roof
If you have an existing roof, such as asphalt shingles, it needs to be removed. This removal includes the shingles, flashing, and underlayment.
Carefully remove the old roofing materials, taking care not to damage the underlying roof sheathing. If you encounter any damaged or rotten sheathing, repair or replace it before proceeding.
This step is crucial for ensuring a clean and even surface for the new metal roof installation. Proper disposal of the old roofing materials is essential, so check with your local waste management guidelines for disposal options.
Step 2: Installing the Underlayment
Once the old roofing is removed and the sheathing is inspected and repaired, install a layer of synthetic underlayment over the entire roof surface. Underlayment acts as an additional layer of protection, preventing moisture from seeping into your home if the metal roof is ever compromised.
Overlap the underlayment courses according to the manufacturer’s recommendations, typically around 6 inches. This overlap helps prevent water from seeping through the seams. Use roofing nails or staples to secure the underlayment to the sheathing.
Ensure the underlayment is smooth and wrinkle-free, as any bumps or creases could telegraph through the metal roofing panels, affecting the roof’s appearance and potentially compromising its integrity.
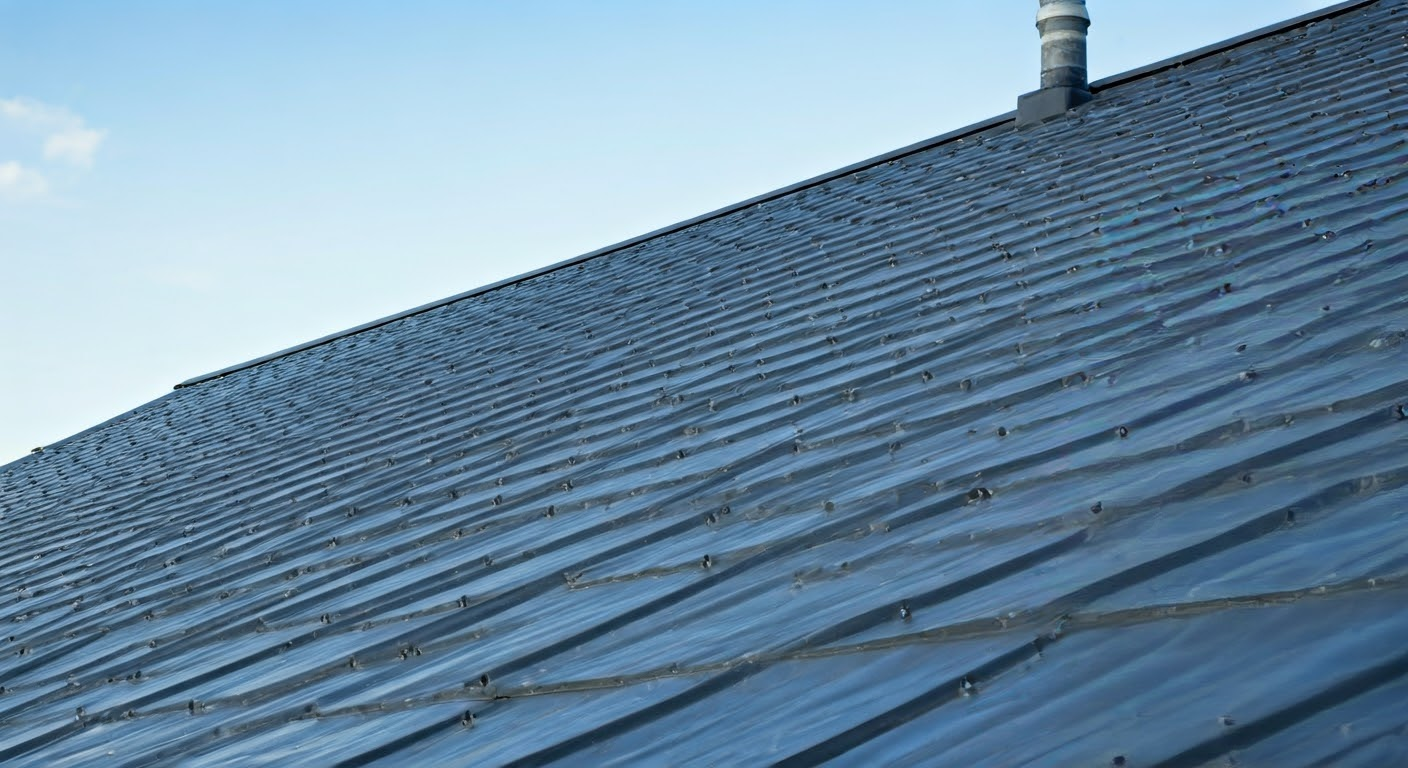
Step 3: Laying the Metal Panels
With the underlayment in place, begin installing the metal roofing panels. Start from the bottom edge of the roof, working your way upwards. Overlap the panels according to the manufacturer’s instructions, ensuring a watertight seal.
Use screws or nails specifically designed for metal roofing to secure the panels to the roof sheathing. These fasteners typically have a rubber washer that seals around the screw head, preventing leaks.
Follow a consistent pattern when fastening the panels, ensuring they are securely attached to the roof structure. Consult the manufacturer’s guidelines for recommended fastener spacing and patterns.
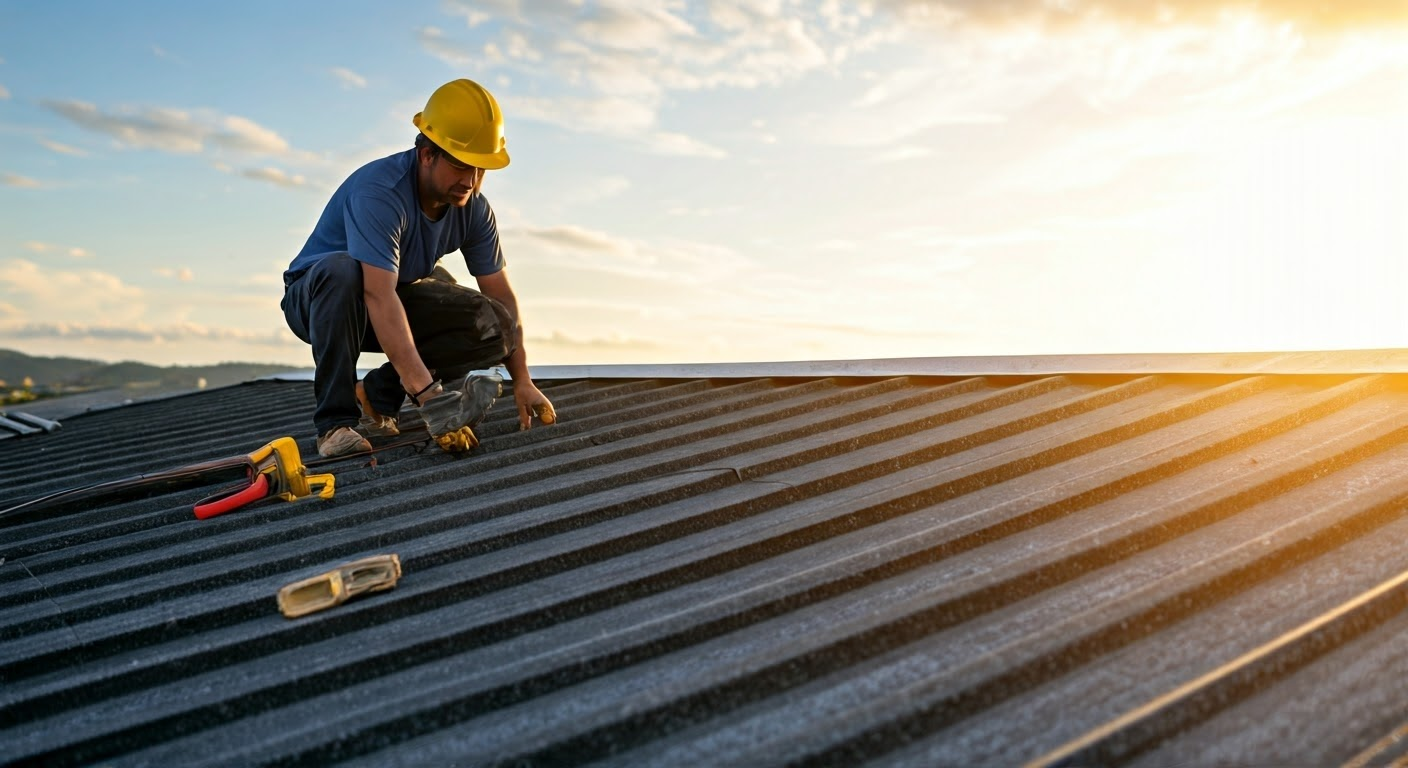
Step 4: Securing and Sealing Joints
Pay close attention to the seams where the metal panels meet. Apply a high-quality sealant along the seams to prevent water infiltration. Additionally, install flashing around chimneys, vents, and other roof penetrations to create a watertight barrier.
Flashing is typically made from metal and is shaped to fit around the contours of the roof penetration. Securely attach the flashing to the roof using roofing nails or screws, and seal the edges with sealant for added protection.
Properly sealed seams and flashing are critical for preventing leaks and ensuring your metal roof’s long-term performance. Take your time and follow the manufacturer’s instructions carefully for best results.
Step 5: Adding Finishing Touches
After securing and sealing the panels and flashing, install the ridge cap along the roof peak. The ridge cap covers the seam where the two sides of the roof meet, providing a weathertight seal.
Install a drip edge along the eaves and rakes of the roof. A drip edge helps prevent water from backing up under the roofing material and protects the fascia board from moisture damage.
Ensure proper ventilation in your attic to prevent condensation buildup, which can lead to moisture problems and damage to your roof. Consult with a qualified roofing contractor to determine the appropriate ventilation system for your metal roof.
Conclusion
In conclusion, taking care of your roof is crucial for the longevity and durability of your home. By following proper maintenance routines, being aware of potential issues, investing in high-quality materials, and seeking professional help when necessary, you can ensure that your metal roof remains in top condition for years to come. Remember, prioritizing regular inspections and repairs is key to protecting your investment and keeping your home safe and secure. Start implementing these tips today to prepare your metal roof for long-lasting performance and peace of mind. Your roof is an important aspect of your home, so take the time to care for it properly.
At Metal Roof Mobile AL, we ensure our clients receive the best possible outcomes. Our commitment to quality workmanship and customer satisfaction is unwavering, making us the top choice for residential Roofing services in our community.
Frequently Asked Questions
What is the Average Cost of Installing a Metal Roof?
The average cost of metal roof installation varies greatly depending on factors like square footage, the type of metal used, roof complexity, and your location. Local weather conditions and high temperatures can also impact pricing. For an accurate estimate, consult with a local roofing contractor.