
Key Highlights
- Metal roofing offers impressive durability and longevity, often lasting 40 to 70 years.
- Its low-maintenance nature makes it ideal for sheds, with no moss or algae growth over time.
- Use proper tools like hand seamers and roofing nails for seamless installation.
- Ensure your shed’s existing roof is free from damage to create a solid foundation.
- Apply underlayment and closure strips to improve water resistance and pest deterrence.
- Follow manufacturer’s instructions to ensure roofing panels align and seal correctly.
Introduction
Metal roofs are the preferred choice for shed installations due to their ease of installation, low maintenance, and extended lifespan. These roofs not only protect against wear and tear but also offer excellent durability. When installed correctly, they resist rust, algae, and moss, and require minimal upkeep—an ideal solution for any homeowner looking for reliable roofing. However, it is essential to consider using insulation, as it can help reduce noise issues during rainstorms. Whether replacing an old roof or installing a new one, understanding metal roofing materials and techniques can significantly ease the process and ensure lasting satisfaction.
Understanding Metal Roofing for Sheds
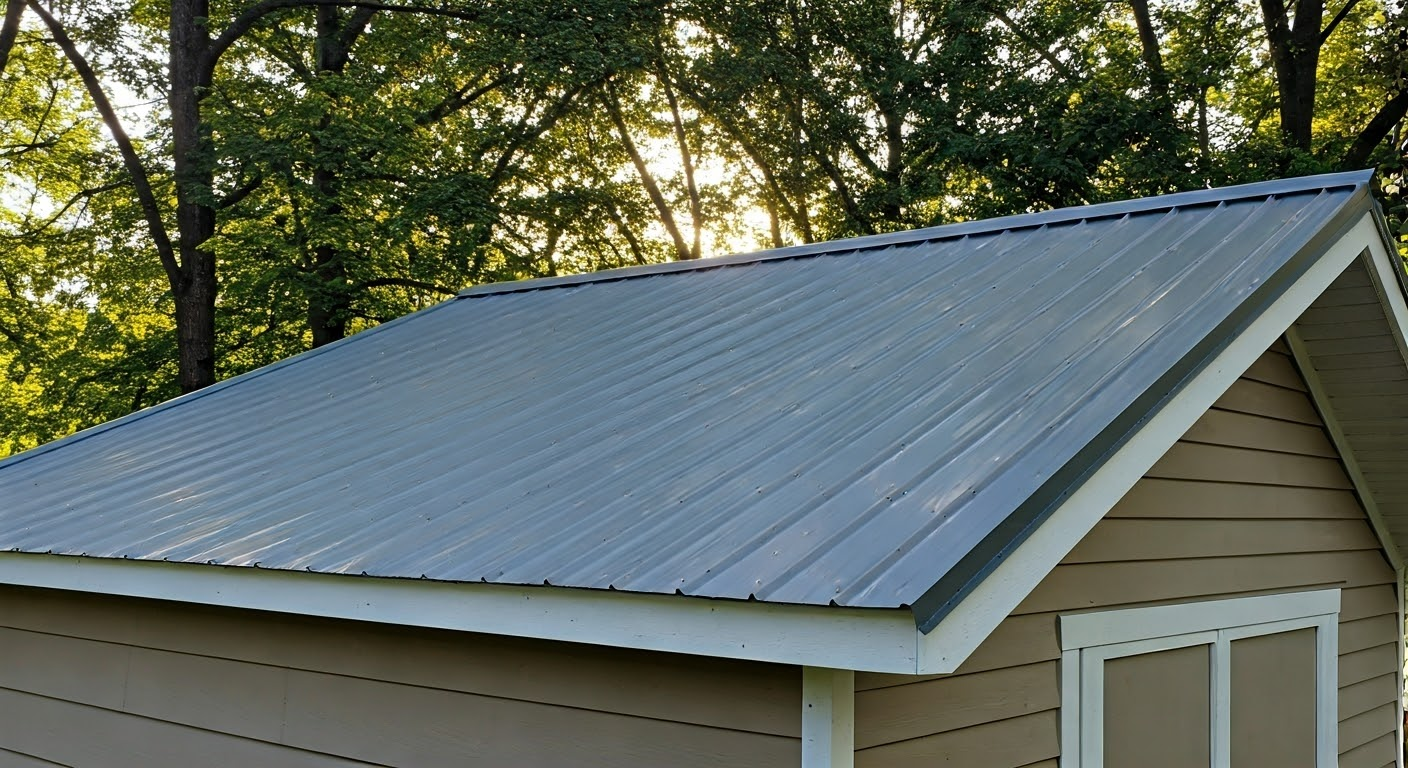
Metal roofing is a practical solution for sheds, combining strength with modern aesthetics. Unlike traditional roofing materials, it requires minimal upkeep and provides consistent protection against weather elements.
Metal roofs are often preferred for their ability to divert rain and moisture efficiently while keeping the underlying shed structure dry. Alongside being environmentally friendly, they also help offset cooling costs by reflecting heat. Overall, metal roofing is a reliable and sustainable choice for anyone constructing or renovating storage spaces.
Benefits of Choosing Metal Roofing Over Other Materials
Metal roofing stands out for its durability, showing unmatched resilience compared to other materials, including metal shingles. Its ability to withstand extreme weather conditions without warping or wearing ensures lasting protection for your shed. Metal roofs ensure peace of mind even in severe storms.
Longevity is another major advantage, with metal roofing boasting a lifespan of 40 to 70 years, far surpassing traditional asphalt shingles. Homeowners investing in metal roofs enjoy a prolonged service life that translates into fewer replacements and long-term savings in the long run.
Metal roofs also require minimal maintenance, resisting moss, algae, and other organic growth prevalent in shaded or moist environments. Occasional checks and cleaning debris are typically sufficient. The combination of durability, lasting efficiency, and low maintenance makes metal roofing a solid investment for sheds of all sizes.
Key Types of Metal Used in Roofing Sheds
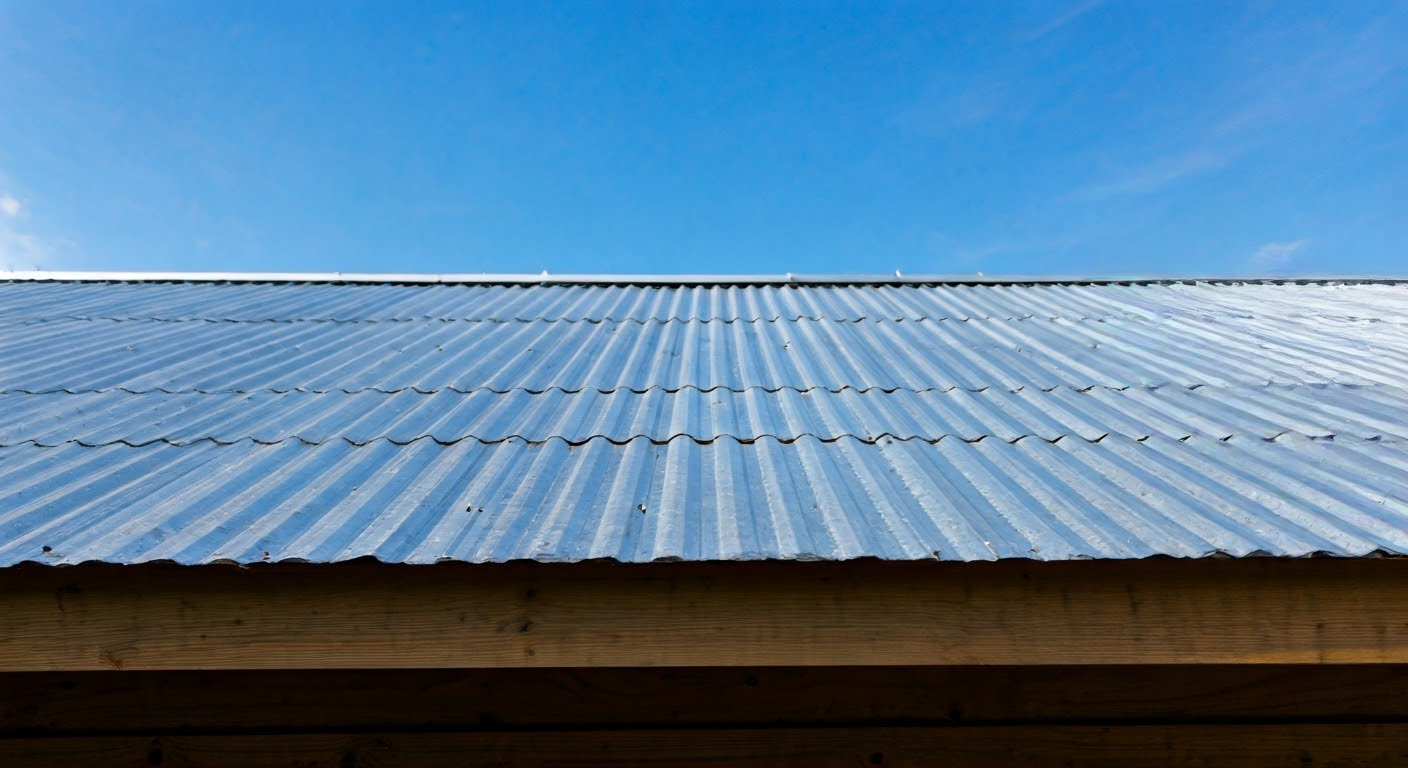
The most popular metals used in shed roofing include steel, aluminum, and copper. Steel panels are widely preferred for their affordability and versatility. Coated or painted for enhanced rust resistance, steel panels suit tough climates and provide secure coverage.
Aluminum is another excellent option. While slightly pricier than steel, it offers superior corrosion resistance, making it particularly ideal for coastal regions. Aluminum’s lightweight nature further simplifies installation, reducing strain on the shed structure.
Copper, known for its timeless elegance, delivers both style and durability. Its natural patina develops a unique appearance over time. Though this material comes with a higher upfront cost, copper offers exceptional longevity and a luxurious finish. When selecting roofing materials, consider the climate, budget, and desired aesthetic to choose the best option for your shed.
Essential Tools and Materials Needed
For a successful metal roof installation, assembling the right tools and materials is crucial. Start with tools such as a hand seamer, hammer, aviation snips, and a drill/driver to ensure precision and efficiency during installation, especially when placing panels on top of the roof.
Equally important are quality materials including metal sheets, roofing nails, roofing vent, drip edge flashing, closure strips, and roofing caulk or metal roofing sealant to ensure water resistance and durability. Properly preparing these essentials guarantees smooth execution and reduces time spent troubleshooting during the project. Success lies in a well-equipped toolkit.
Comprehensive List of Tools for the Job
Hand seamer: Ideal for bending metal closure strips and the edges of the metal, checking for any burrs that may need attention.
- Hand seamer: Ideal for bending metal closure strips and the edges of the metal, checking for any burrs that may need attention.
- Aviation snips: For cutting metal panels to size.
- Hammer: For securing nails and trims.
- Drill/driver: To fasten panels securely with screws.
- Fasteners: Roofing screws with rubber gaskets to prevent leakage.
- Safety gear: Harnesses, glasses, and gloves for safe handling of materials.
In addition to these, a square reference line tool ensures alignment precision, while metal shears and safety equipment help avoid accidents. Equipping yourself with these ensures proper execution and minimizes unwanted delays in the installation process.
Materials Checklist Before Starting Installation
Before proceeding with installation, compile a checklist of materials critical for the task:
| Material | Purpose |
|---|---|
| Metal sheets | Durable roofing surface |
| Sealant tape | Watertight sealing for joints |
| Drip edge flashing | Guides rainwater safely off the roof |
| Foam closure strips | Prevents pests and water ingress |
Ensure all components are accounted for, including nails, screws, and ridge caps. Sealant tape plays a vital role in preventing leaks, while drip edge flashing and foam strips add extra protection. Proper preparation helps avoid last-minute surprises and ensures seamless installation using the complete list provided.
Pre-Installation Preparation
Preparing your shed before installation is integral to the process. Start by inspecting the existing roof for signs of damage or leaks, ensuring the surface is clean and even.
Essential safety measures must also be implemented, including wearing protective gear and using the correct tools. A careful yet thorough pre-installation process sets the foundation for a smooth metal roof installation, reducing risks and enhancing the result’s overall quality.
Assessing and Preparing Your Shed’s Existing Roof
Begin by assessing the shed’s current roof for issues such as rot, mold, or structural weaknesses. Addressing signs of damage ensures the roof sheathing and decking, along with the vents, provide a solid base. Removing old panels and clearing debris can simplify the process.
Ensure the roof surface is leveled to prevent installation inconsistencies. Add reinforcements where needed, particularly to areas subject to wear. Proper preparation increases installation success and roof longevity.
By checking roof decking and rafters for structural integrity, you prevent future leakage or wear. Focusing on preparation ensures optimal alignment and installation of metal roof panels later.
Safety Measures to Consider Before Installation Begins
Safety should never be compromised during roofing installation. Start by equipping yourself with a safety harness, gloves, and non-slip footwear to reduce risks.
Before beginning, test all tools for performance and inspect ladders or scaffolding for stable footing. Avoid working in adverse weather conditions to prevent accidents or damage.
Securing tools and materials on a flat, accessible surface helps organized progress. Keeping surroundings clear of obstacles and ensuring proper lighting helps to confidently complete the project. Roof installation prioritizing safety guarantees smoother execution.
Step-by-Step Guide to Installing Your Metal Roof
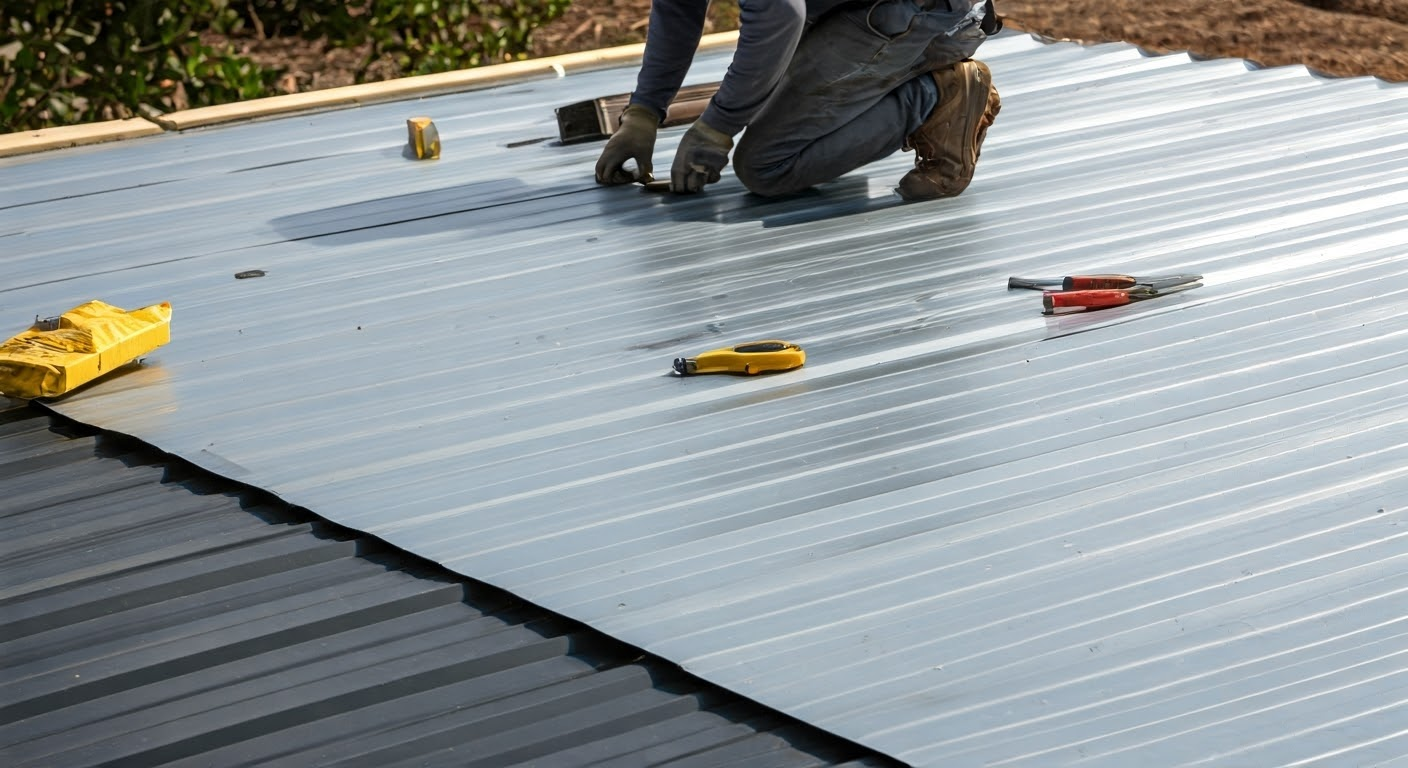
Installing a metal roof involves precision and patience. Begin by laying the underlayment, ensuring a strong moisture barrier. Then, align the first panel carefully before securing it with screws.
Proceed methodically to fasten remaining panels into place, overlapping edges for a watertight seal. Finally, apply sealant and add closure strips to secure joints and edges. Following these systematic steps ensures lasting quality and enhanced shed protection.
Step 1: Laying the Underlayment
Underlayment is the first protective layer over the OSB roof deck. Choose a self-healing, ice-and-water membrane for an effective moisture barrier.
Roll the underlayment while flattening wrinkles for smooth application. Overlap each layer by 6 to 8 inches to maintain structural integrity according to manufacturer’s instructions.
Completing this step establishes the foundation for a durable roof by minimizing moisture damage risks. The underlayment plays a pivotal role in your shed’s protection.
Step 2: Aligning and Securing the First Metal Panel
Take extra care in positioning the first panel, as alignment affects subsequent installations. Place the panel over the underlayment and ensure equal measurement from the edges.
Fasten the panel using screws and follow manufacturer’s guidelines for specific screw placement. Correct alignment minimizes leakage and ensures seamless design.
By using the right materials and adhering to these steps, you set the stage for a professional-looking installation. Each panel aligns perfectly when starting with accuracy upfront.
Step 3: Attaching Remaining Panels and Sealing Joints
Secure remaining roofing panels by overlapping them for a snug fit. The shorter rib leg on each panel nests within the longer anti-siphon channel, ensuring water drainage on the flat part of the roof. Apply sealant along seams to prevent leaks.
Fasten the panels tight enough to compress the rubber gasket without over-tightening. Clean metal shavings immediately to prevent rust or challenges in future maintenance.
Finally, inspect joints and edges for gaps before applying closure strips. Properly sealing gaps results in effective weatherproofing, ensuring a long-lasting roof.
Conclusion
In conclusion, installing a metal roof on your shed can be a rewarding project that combines durability, aesthetic appeal, and long-term cost savings, but it’s important to consider the pros and cons as well. By following the outlined steps—from preparation and safety measures to the meticulous installation process and best practices for installing metal roofing panels—you set yourself up for success. Remember that the right tools, materials, and knowledge are essential to ensure a sturdy roof that can withstand the elements. Regular maintenance will keep your new metal roof in optimal condition for years to come. If you have any questions or need further assistance, feel free to explore our FAQs or reach out for personalized advice. Happy building!
At Metal Roof Mobile AL, we ensure our clients receive the best possible outcomes. Our commitment to quality workmanship and customer satisfaction is unwavering, making us the top choice for residential Roofing services in our community.
Frequently Asked Questions
What is the average cost of a metal roof installation for a shed?
The cost varies depending on total square footage, type of metal sheets used, and labor required. On average, homeowners should expect to spend $1,500–$5,000 for materials and installation. Factors include roof size, complexity, and customization.
What maintenance is required for a metal shed roof?
Metal roofs need routine inspections to spot rust or fastener issues. Cleaning debris, reapplying sealant, and ensuring joints are secure are essential. Preventative measures like removing sharp residues help preserve the roof’s integrity over time.