
Key Highlights
- Drip edges are essential components of metal roofing systems, protecting your home from water damage.
- They effectively channel water away from the fascia, foundation, and walls, preventing rot, mold, and structural issues.
- While not always mandatory, building codes often require drip edges for metal roofs, ensuring optimal performance.
- Homeowners can choose from various drip edge materials, including aluminum, galvanized steel, and copper, each with pros and cons.
- Proper installation is crucial for drip edge effectiveness, involving specific steps for eaves, rakes, corners, and ridges.
Introduction
When investing in a metal roofing system, understanding the importance of every component is key. One crucial element often overlooked is the drip edge. This often-underestimated metal strip plays a vital role in safeguarding your home from potential water damage. This comprehensive guide will explore the significance of drip edges in metal roofing, the different types available, the installation process, and essential maintenance tips.
Understanding the Importance of Drip Edges in Metal Roofing
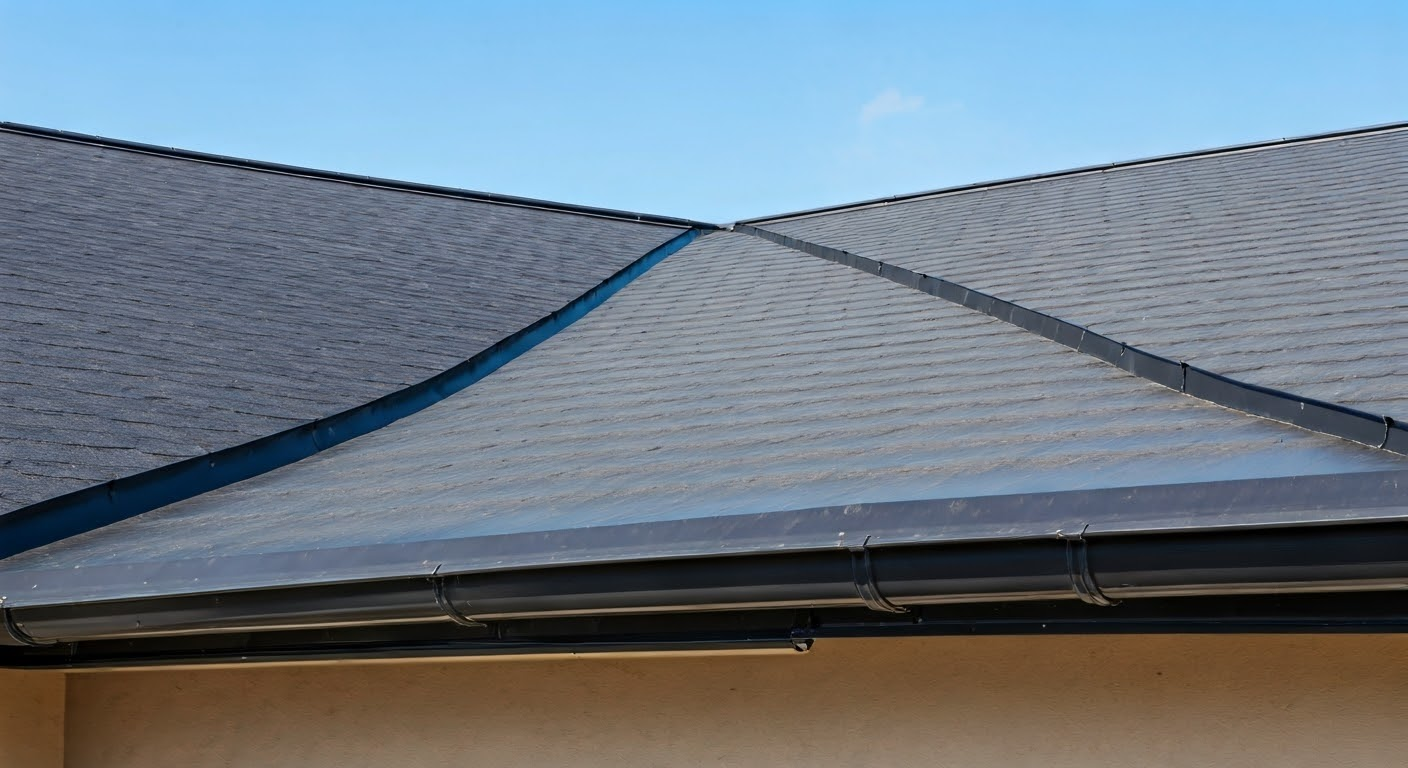
Imagine this scenario: rain falls onto your metal roof, seemingly harmlessly flowing off the edges. However, without a drip edge, this water can seep beneath the roofing material, silently wreaking havoc on your home’s structure. This seemingly minor oversight can lead to severe consequences like wood rot, mold growth, and even compromise the structural integrity of your house.
A drip edge acts as a first line of defense against these problems. By extending slightly beyond the roof’s edge, it creates a channel that redirects water away from vulnerable areas. This ensures that rainwater flows directly into the gutter system, preventing it from damaging the fascia, soffit, and your home’s foundation.
The Role of a Drip Edge in Water Management
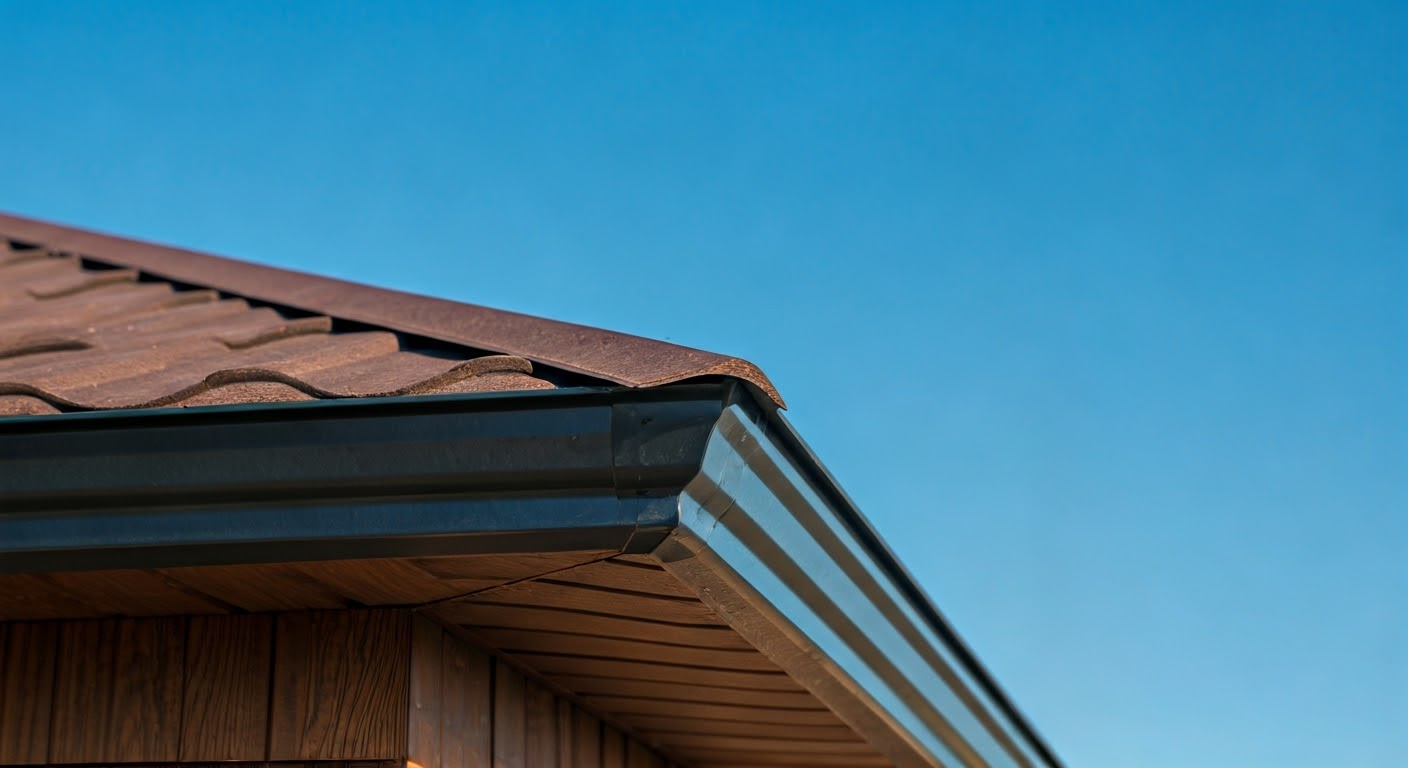
The primary function of a drip edge is water management. With its clever design, it intercepts rainwater as it runs off your metal roof, preventing it from clinging to the edges and seeping into vulnerable areas. This is crucial for protecting your home from potential water damage.
The drip edge’s angled profile efficiently directs water away from the fascia board, the wooden trim located at the roof’s edge. By preventing water from accumulating and stagnating in this area, drip edges effectively mitigate the risk of rot, mold growth, and other moisture-related issues.
Furthermore, a properly installed drip edge works in tandem with your gutter system. It guides the water directly into the gutters, ensuring efficient drainage and preventing overflowing. This synergistic relationship between the drip edge and the gutter system is vital for maintaining a dry and damage-free home.
How Drip Edges Protect Your Home’s Foundation and Walls
Now, let’s consider the bigger picture. Without a drip edge, water cascading off your roof can seep into the ground around your home’s foundation. Over time, this can weaken the foundation, leading to cracks, settling, and costly repairs.
Drip edge flashing acts as a barrier, preventing this water from reaching your foundation and walls. By diverting rainwater away from these crucial structural components, it safeguards your home from potential water damage and preserves its structural integrity.
Additionally, by keeping the areas around your foundation dry, drip edges also help prevent mold and mildew growth, contributing to a healthier living environment.
Types of Metal Roofing Drip Edges
Choosing the right type of drip edge for your metal roofing project ensures optimal performance and longevity. While there are various options available, understanding the key differences can help you make an informed decision.
Factors to consider include the type of metal used, the profile shape, and compliance with local building codes. Understanding these aspects allows you to select a drip edge that complements your roofing system and meets your specific needs.
Standard Vs. Custom Drip Edges: What You Need to Know
When deciding on drip edges, you’ll typically encounter two main options: standard and custom. Standard drip edges are pre-manufactured in common sizes and shapes, offering a cost-effective and readily available solution for most roofing projects.
Custom drip edges, on the other hand, are tailored to fit the unique specifications of your roof. This is particularly beneficial for roofs with complex designs or non-standard angles where standard sizes may not suffice. While custom drip edges may come at a higher initial cost, they provide a perfect fit, enhancing both functionality and aesthetics.
Always consult your local building codes before making a decision, as they often dictate the type of metal and minimum gauge requirements for drip edge installation. Adhering to these regulations ensures your roofing project meets safety and durability standards.
Material Choices for Drip Edges: Pros and Cons
The choice of material for your drip edge impacts its durability, longevity, and overall aesthetics. Common options include aluminum, galvanized steel, and copper. Each material has advantages and disadvantages, influencing its suitability for different climates and architectural styles.
Aluminum offers a balance of affordability and corrosion resistance, making it a popular choice. Galvanized steel provides superior strength but may require additional coatings to prevent rust. Copper, known for its aesthetic appeal and longevity, comes at a premium cost.
| Material | Pros | Cons |
|---|---|---|
| Aluminum | Affordable, corrosion-resistant, lightweight | Can be prone to dents, less aesthetically appealing than copper |
| Galvanized Steel | Extremely durable, long-lasting | Can rust if coating is damaged, heavier than aluminum |
| Copper | Elegant appearance, naturally corrosion-resistant, extremely long lifespan | Expensive, can develop a patina over time |
Understanding the pros and cons of each material empowers you to choose the best drip edge for your metal roof, ensuring optimal performance and aligning with your budget and aesthetic preferences.
Installation Tips for Metal Roofing Drip Edges
Proper installation is paramount for your drip edge to function correctly and provide long-lasting protection. While it may seem like a straightforward task, drip edge installation involves specific techniques and considerations to ensure a watertight seal and a professional finish.
From preparing the roof deck to securing the drip edge with the correct fasteners, each step plays a vital role in its effectiveness. Understanding these nuances allows for a smooth installation process, maximizing the lifespan of your drip edge and protecting your home for years to come.
Preparing for Drip Edge Installation: Tools and Materials
Before commencing with the installation process, gathering the necessary tools and materials ensures a smooth and efficient workflow. Having everything on hand streamlines the process and minimizes potential delays.
Essential tools include a tape measure, tin snips, a hammer, roofing nails, and a chalk line. These tools aid in measuring, cutting, and securing the drip edge accurately. In addition to the drip edge itself, gather materials like underlayment, sealant, and furring strips if required for your specific installation.
By being well-prepared and organized, you’ll be able to focus on the task at hand and achieve a professional-looking installation. A little preparation goes a long way in ensuring the success of your drip edge installation project.
Step-by-Step Guide to Installing Drip Edges
Begin by installing the drip edge along the eaves first, ensuring it overhangs the roof edge by about an inch. Secure it with roofing nails, spaced approximately every 12 inches, ensuring the shingles will later cover the nails.
Next, install the underlayment, overlapping each piece by at least six inches. This creates a secondary barrier against water intrusion. Once the underlayment is in place, install the drip edge along the rakes, overlapping the eave drip edge at the corners.
Finally, install the drip edge along the ridges, making sure to overlap the rake drip edges. Pay close attention to corners and transitions, ensuring a seamless and watertight installation.
- Pro Tip: Apply a bead of sealant along the underside of the drip edge before securing it to the roof deck. This creates an additional barrier against water infiltration and ensures a weathertight seal.
Maintenance and Troubleshooting for Drip Edges
Maintaining your drip edge is vital for ensuring its longevity and continued effectiveness in protecting your home. Regular inspection and timely repairs can prevent minor issues from escalating into major problems, saving you time, money, and potential headaches down the line.
From simple visual checks to addressing minor damages, incorporating routine maintenance into your home upkeep schedule ensures your drip edge continues to perform optimally, safeguarding your home from the elements for years to come.
Routine Maintenance Tips to Extend the Life of Your Drip Edge
Taking proactive measures to maintain your drip edge can significantly extend its lifespan and ensure its continued performance. By incorporating simple routine checks into your home maintenance schedule, you can identify and address potential issues before they escalate into major problems.
During your inspection, pay close attention to the following:
- Clear debris: Regularly remove leaves, twigs, and other debris that may accumulate behind the drip edge, obstructing water flow and potentially causing water damage.
- Check for sealant integrity: Inspect the sealant around the drip edge, looking for cracks, gaps, or signs of deterioration. Reapply sealant as needed to maintain a watertight barrier.
- Inspect for damage: Examine the drip edge for signs of rust, corrosion, dents, or bends. Address any damage promptly to prevent further deterioration and maintain the integrity of your roofing system.
By adhering to these routine maintenance practices, you can safeguard your investment and ensure your drip edge effectively safeguards your home for years to come.
Common Issues with Drip Edges and How to Fix Them
While drip edge flashing is generally low-maintenance, occasional issues may arise due to severe weather conditions, improper installation, or wear and tear. Recognizing these common problems and understanding simple solutions allow you to address them promptly, preventing further damage and costly repairs.
One common issue is loose or missing nails, which can cause the drip edge to pull away from the roof, compromising its effectiveness. Tightening or replacing loose nails with roofing nails of the appropriate size and type can easily rectify this.
Another frequent problem is sealant deterioration, leading to gaps and cracks that allow water infiltration. Removing the old, damaged sealant and applying a fresh bead of high-quality roofing sealant can effectively resolve this issue, restoring a watertight barrier. For more extensive damage, such as dents or bends in the drip edge, consult a qualified roofing professional for repair or replacement options.
Conclusion
Metal roofing drip edges play a crucial role in protecting your home from water damage and maintaining its structural integrity. Understanding the different types and materials available, as well as proper installation and maintenance tips, ensures the longevity of your metal roof. By choosing between standard and custom drip edges and following routine maintenance practices, you can safeguard your investment. Stay informed about common issues and troubleshooting techniques to address any concerns promptly. Prioritize the care of your metal roofing drip edge to ensure optimal functionality and protection for your home’s foundation and walls.
At Metal Roof Mobile AL, we ensure our clients receive the best possible outcomes. Our commitment to quality workmanship and customer satisfaction is unwavering, making us the top choice for residential Roofing services in our community.
Frequently Asked Questions
What is the lifespan of a metal roofing drip edge?
A well-maintained metal roofing drip edge can last for several decades. However, factors like material quality, installation quality, climate, and maintenance practices can directly impact its lifespan and influence the rate of deterioration. Regular inspections and sealant upkeep can significantly extend its lifespan and prevent premature failure.