
Key Highlights
- Metal roofs offer exceptional longevity, energy efficiency, and resistance to harsh weather conditions, making them a wise investment for homeowners.
- Before starting the installation, gather essential tools, accurately measure your roof, and choose appropriate metal roofing materials.
- Proper preparation, including removing the old roofing and installing underlayment, is crucial for a successful metal roof installation.
- A step-by-step guide to metal roof installation ensures a systematic approach, covering everything from panel layout to ridge cap installation.
- Understanding the basics of metal roofing, including the benefits, materials, and installation process, helps homeowners make informed decisions for their roofing needs.
Introduction
For homeowners considering a new roof, metal roofing installation presents a durable and long-lasting solution. As an expert blog writer, I aim to provide a detailed guide on ensuring a seamless metal roof installation. By understanding the process, materials, and essential steps, homeowners can confidently approach this significant home improvement project.
Understanding the Basics of Metal Roofing
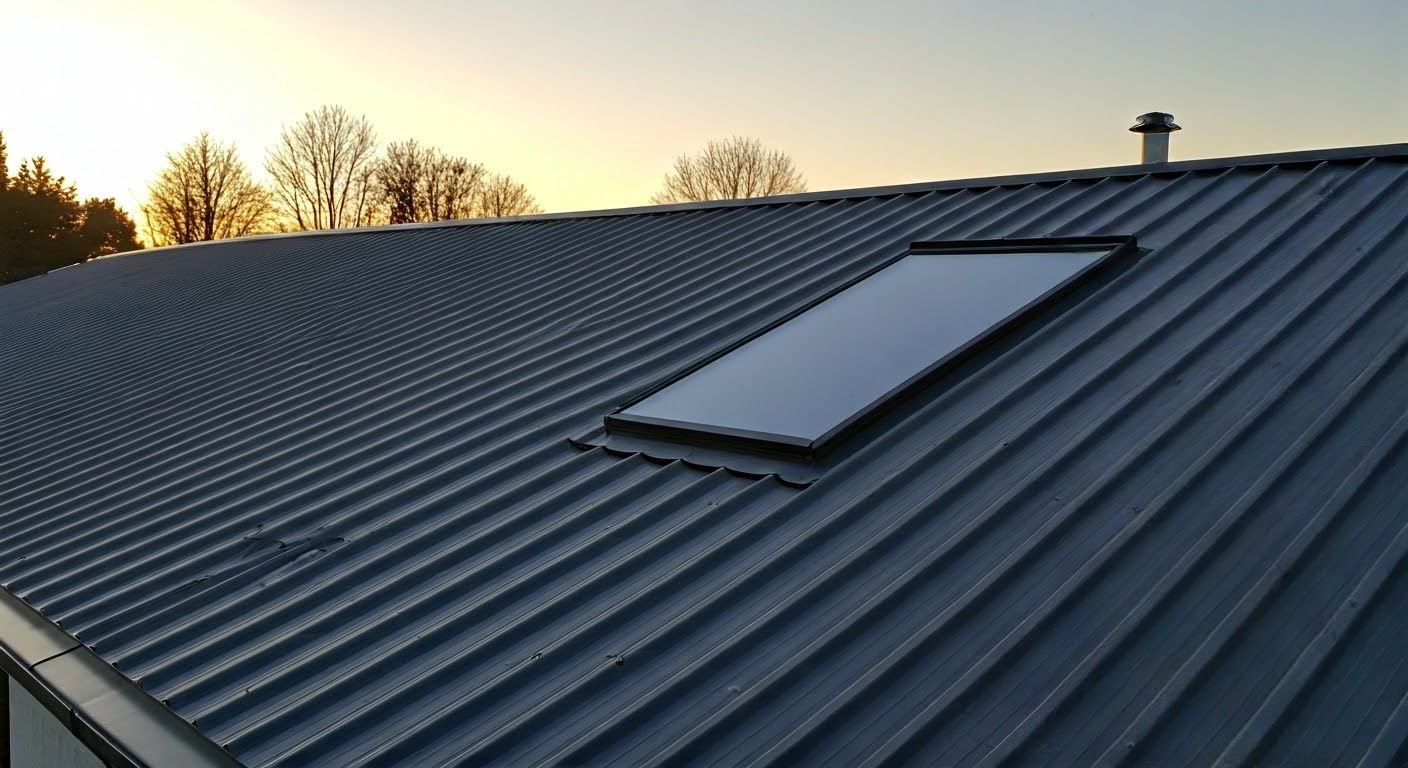
Metal roofing has gained immense popularity as a durable and aesthetically pleasing roofing solution. The longevity of metal roofing materials is a prime advantage. Unlike traditional asphalt shingles, metal roofs can withstand decades of harsh weather conditions.
Leading roofing manufacturers offer a wide range of metal roofing options, including steel, aluminum, copper, and zinc, each with its unique characteristics and benefits. Understanding the different metal roofing materials and consulting a reputable manufacturer is crucial for selecting the ideal material that aligns with your budget, aesthetic preferences, and climate.
Benefits of Choosing Metal Roofs for Your Home
One of the most significant advantages of metal roofs lies in their impressive longevity. With proper installation and maintenance, metal roofing can last upwards of 50 years, significantly outperforming traditional asphalt shingles. This longevity translates into long-term cost savings for homeowners.
Beyond their durability, metal roofs contribute to energy efficiency. The reflective properties of metal roofing material help deflect solar heat, reducing cooling costs during warmer months. This energy-saving aspect appeals to environmentally conscious homeowners seeking sustainable building solutions.
Furthermore, the inherent strength of metal roofing materials enables them to endure extreme weather events such as heavy rain, hailstorms, and high winds. Metal roofs provide peace of mind for homeowners residing in regions prone to challenging weather conditions.
Different Types of Metal Roofing Materials
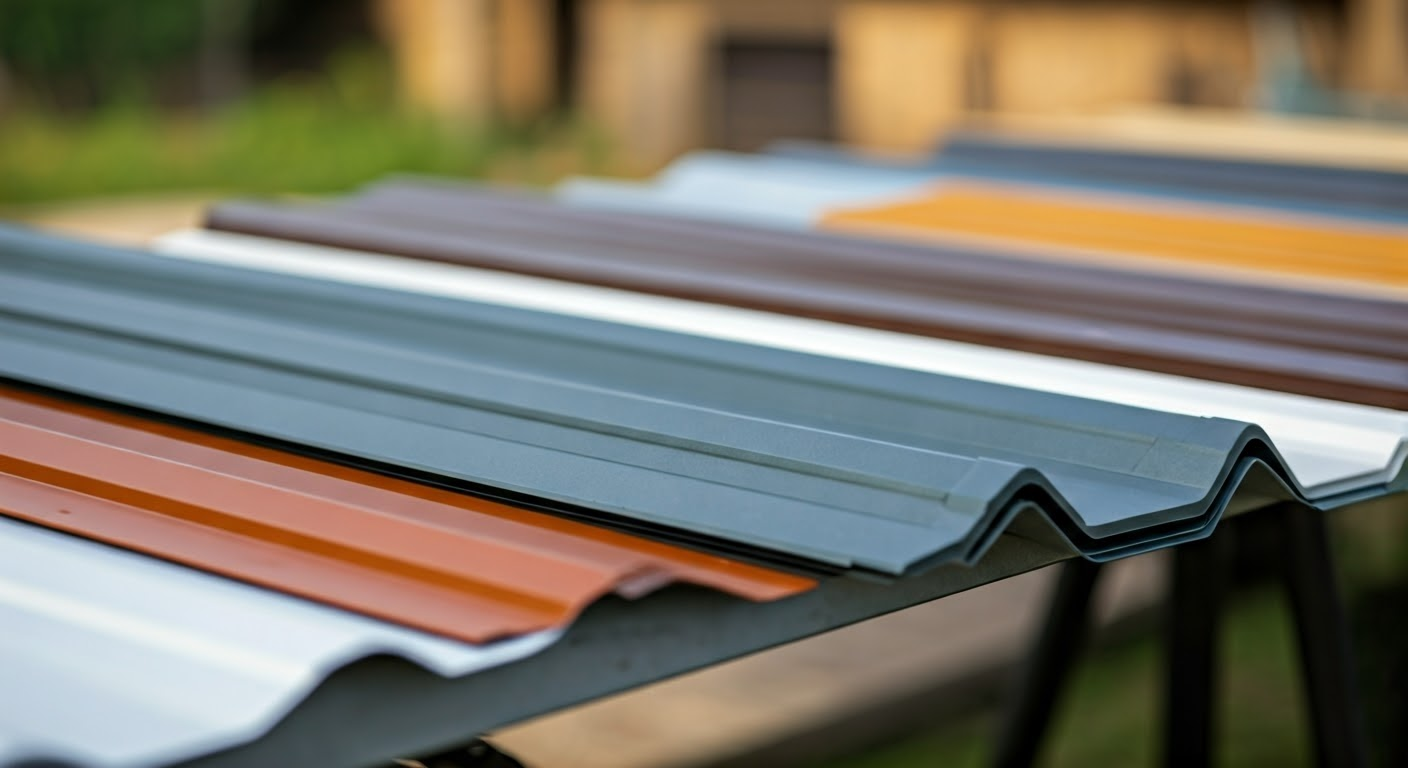
When exploring metal roofing options, homeowners will encounter various materials, each offering different aesthetics and performance characteristics:
- Steel: Known for its strength, affordability, and versatility, steel is a popular choice for metal roofing. From classic corrugated panels to sleek metal shingles, steel roofing offers a wide array of design possibilities.
- Aluminum: Favored for its resistance to corrosion, aluminum roofing is an excellent option for coastal regions. Its lightweight nature simplifies installation and reduces strain on the roof structure.
- Copper and Zinc Roofing: For homeowners seeking premium choices, copper and zinc roofing provide unparalleled elegance and longevity. Copper develops a distinctive patina over time, while zinc boasts a natural, weathered look.
| Material | Advantages | Considerations |
| Steel | Strength, affordability, design versatility | Susceptibility to rust if not properly coated |
| Aluminum | Corrosion resistance, lightweight | Prone to denting, higher cost than steel |
| Copper | Exceptional longevity, aesthetic appeal | High cost |
| Zinc | Natural weathering, durability | Specialized installation required |
Preparing for Your Metal Roof Installation
A successful metal roof installation hinges on meticulous preparation. Begin by accurately measuring the total square footage of your roof, accounting for eaves, dormers, and other features. Accurate measurements ensure you order the correct quantity of roofing panels and avoid delays during installation.
Gather the essential tools, including a roofer’s square, tape measure, chalk line, tin snips, and roofing screws. Consult the roofing manufacturer’s guidelines for specific tool recommendations tailored to your chosen metal roofing system.
Essential Tools and Equipment Needed
Ensuring a smooth metal roof installation requires a comprehensive set of tools designed to handle the unique characteristics of metal roofing materials. From precise cutting to secure fastening, having the right tools contributes to a successful outcome.
- Cutting Tools: Tin snips or metal shears are indispensable for making straight cuts on metal roofing panels. A circular saw fitted with a metal-cutting blade helps achieve clean, accurate cuts for more extensive or intricate cuts.
- Fastening Tools: A high-quality drill equipped with a depth-adjustable clutch is essential for driving fasteners consistently and preventing over-tightening, which can damage the roofing panels. Use roofing screws specifically designed for metal roofing, as they feature corrosion-resistant coatings and gaskets to prevent leaks.
- Other Essential Tools: A chalk line aids in marking straight lines for panel alignment, while a roofer’s square ensures accurate angle measurements. Sealant tape, specifically designed for metal roofing, creates a watertight barrier at panel overlaps and seams. Underlayment, typically a synthetic felt material, provides an additional layer of protection against moisture infiltration.
Measuring Your Roof Accurately
Before ordering metal roofing panels, accurately measuring your roof’s dimensions is crucial to determine the total square footage required. For a basic gable roof, the process involves several steps:
- Measure the Length and Width: Measure the length of the roof’s ridge from one end to the other, followed by the width from eave to eave.
- Calculate the Area: Multiply the length by the width to determine the area of one side of the roof. Since gable roofs have two sloping sides, multiply this area by two to obtain the total roof area.
- Factor in Overhang and Waste: Add 10% to the total roof area to account for overhang at the eaves and potential waste during the installation process. This ensures you have sufficient material to complete the project.
Step-by-Step Guide to Metal Roof Installation
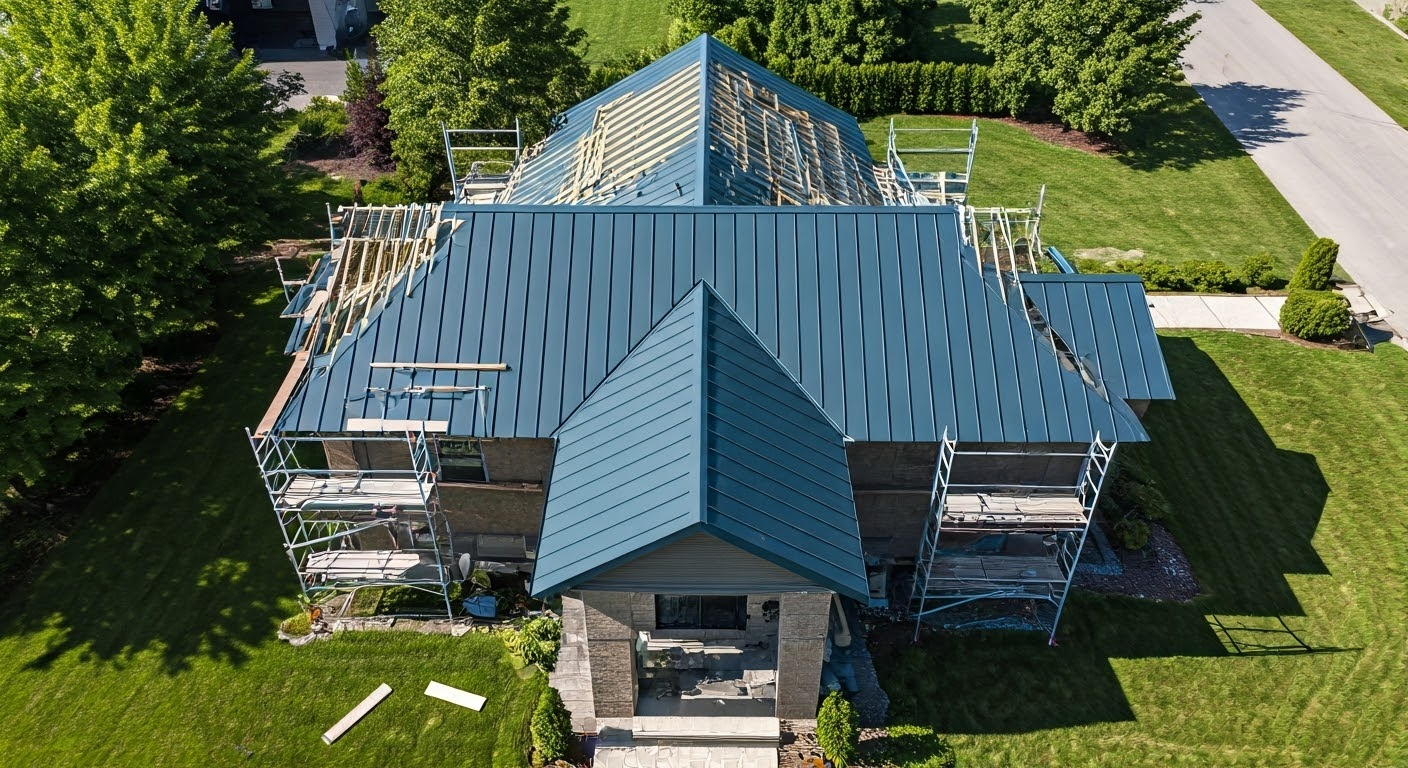
With preparations complete, you can commence with the metal roof installation, adhering to a systematic approach ensures a professional outcome. Begin by carefully removing the old roofing material, down to the roof deck, ensuring a clean and stable surface for the new metal roofing panels.
Install a layer of underlayment over the roof deck, following the roofing manufacturer’s recommendations for overlap and fastening. Underlayment serves as a moisture barrier, protecting the roof deck from potential leaks and condensation
Step 1: Removing the Old Roofing Material
The first step in metal roof installation involves removing the existing roofing material, which often involves asphalt shingles. Start by carefully removing shingles from the eave, working upward toward the ridge. Use a pry bar to loosen the shingles and nails, disposing of them properly according to local regulations.
Once the shingles are removed, inspect the sheathing for any signs of damage, such as rot or water stains. Replace any damaged sheathing sections to ensure a solid foundation for the new metal roof.
Pay attention to flashing details around vents, chimneys, and dormers, carefully removing them to allow for new flashing installation later in the process.
Step 2: Installing the Underlayment
With the old roofing removed and the sheathing repaired, the next crucial step is installing the underlayment. Underlayment serves as a critical barrier against moisture, protecting the roof deck from potential leaks.
Roll out the underlayment horizontally, starting from the eave and working upward toward the ridge. Overlap each subsequent row by at least 6 inches and secure it to the roofing deck using roofing nails or staples, following the manufacturer’s instructions.
Pay close attention to seams and overlaps, ensuring they are properly sealed with roofing tape or sealant to prevent water infiltration.
Step 3: Laying Out Metal Panels
Once the underlayment is in place, you can proceed with laying out the metal panels. Depending on the type of metal roof you’ve chosen, this step might involve installing individual metal panels or larger modular panels.
Before fastening, it’s crucial to ensure the first panel is perfectly aligned with the eave and the roof’s edge. Use a chalk line as a guide and adjust the panel’s position as needed.
Begin installing from the eave upward, overlapping each subsequent panel according to the manufacturer’s recommendations. Use screws or other specified fasteners, ensuring they are driven straight and flush with the panel’s surface.
Step 4: Securing Panels and Applying Sealants
Securely fastening the metal panels is critical for a weathertight and long-lasting roof. Use high-quality fasteners designed for metal roofing, typically screws with rubber gaskets that create a watertight seal around the screw hole.
Drive the fasteners through the specified points on the panel, typically the flat area between the ribs. Avoid over-tightening, as this can strip the screw hole or damage the panel.
For added protection against leaks, apply a bead of sealant along the top of the roof, where panels overlap or meet walls or other roof features.
Conclusion
In conclusion, ensuring a seamless metal roof installation requires careful planning, precision, and the right tools. By understanding the basics of metal roofing, choosing the appropriate materials, and following a step-by-step guide, you can achieve a durable and visually appealing roof for your home. Remember to measure accurately, remove old materials efficiently, and secure panels correctly to guarantee a successful installation. Whether for its longevity or energy efficiency, investing in a metal roof can be a rewarding decision for your property’s value and protection. If you’re considering a metal roof upgrade, follow these guidelines to enjoy a smooth and efficient installation process.
At “Metal Roof Mobile AL”, we ensure our clients receive the best possible outcomes. Our commitment to quality workmanship and customer satisfaction is unwavering, making us the top choice for residential Roofing services in our community.
Frequently Asked Questions
How Long Does a Metal Roof Last?
One of the most significant advantages for homeowners opting for metal roofing is its remarkable longevity. Depending on the roofing material and the quality of installation, a well-maintained metal roof can last 40 to 70 years or more, significantly outlasting traditional asphalt shingles.
Can You Install a Metal Roof Yourself?
While DIY metal roofing installation is possible, carefully consider the overall complexity of the job. Familiarize yourself with the manufacturer’s instructions and your roofing system. For complex roof designs or if you’re uncomfortable working at heights, consult with a qualified roofing contractor.
What Maintenance is Required for a Metal Roof?
Metal roofing requires minimal maintenance, but periodic checks are beneficial. Regularly clear debris from the roof and gutters to prevent water accumulation. Inspect the sealant around flashing and seams for signs of cracking or deterioration, and apply touch-ups as needed to inhibit rust and ensure continued protection.