
Key Highlights
- Metal roofs are celebrated for their longevity, commonly lasting 40 to 70 years, significantly outperforming traditional asphalt shingles.
- They excel in energy efficiency, reflecting sunlight to keep your home cooler and potentially lowering energy bills.
- Metal roofing requires less maintenance than asphalt shingles and withstands harsh weather conditions remarkably well.
- While DIY installation is possible, especially for smaller structures, it’s advisable to engage professionals for complex roofs.
- Factors like roof size, slope, and the presence of features like skylights influence the decision to install yourself or hire a professional.
Introduction
Embarking on a new roof project? Opting for a metal roofing system can be a wise investment. Metal roofing installation, while achievable for capable DIYers, involves careful planning and execution. This guide will take you through the essentials, from understanding the benefits of metal roofing to providing a detailed walkthrough of the installation process. Whether you’re a dedicated DIYer or planning to hire professionals, this guide serves as an invaluable resource for your metal roofing journey.
Understanding Metal Roofing Benefits
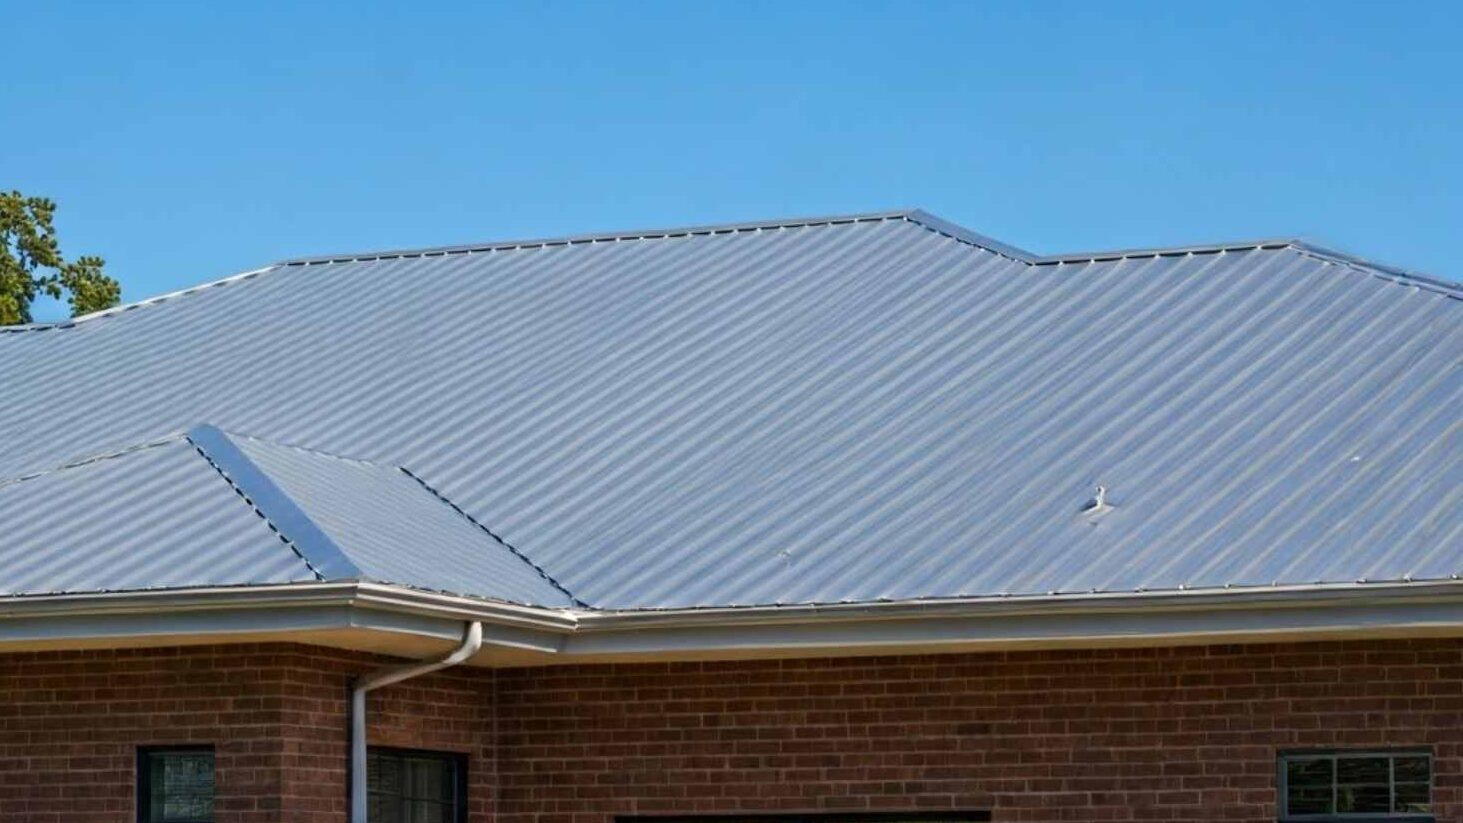
Metal roofing has gained immense popularity in recent years, and for a good reason. Not only does it boast an undeniably sleek and modern aesthetic, but it also offers a compelling set of advantages over traditional roofing materials. From impressive durability to eco-friendly characteristics, understanding these benefits can help you make a well-informed decision for your home improvement needs.
Investing in a metal roof is often seen as a decision that pays off in the long run. Unlike asphalt shingles that require replacement every 15-20 years, metal roofing can stand the test of time, often lasting upwards of 50 years. Furthermore, its inherent strength makes it highly resistant to fire, wind, and impact damage, offering valuable peace of mind for homeowners.
Durability and Longevity
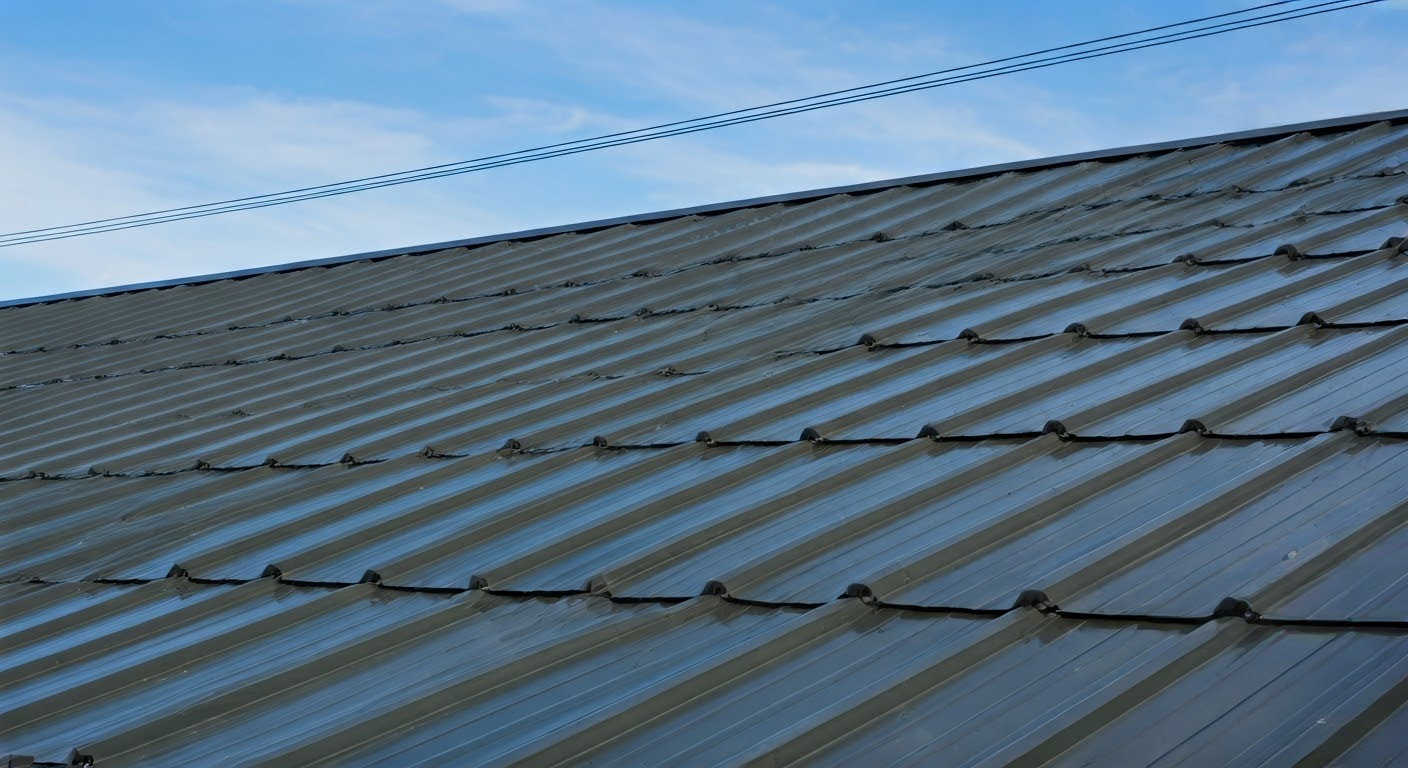
When discussing the advantages of metal roofing, longevity consistently takes center stage. Compared to traditional asphalt shingles, metal roofing emerges as the frontrunner, often boasting a lifespan of 40-70 years and, in some cases, even exceeding that. This extended lifespan makes metal roofing a particularly appealing option for homeowners seeking a long-term, durable roofing solution.
What contributes to this exceptional longevity? Metal roofing exhibits inherent strength and resilience, effectively withstanding harsh weather conditions that could compromise other roofing materials. From heavy rain and snow to strong winds, a properly installed metal roof proves its mettle time and again.
Moreover, metal roofing effectively resists common roofing issues such as rot, mildew, and insect infestations. This intrinsic resistance further contributes to the prolonged lifespan of metal roofs, reducing the need for frequent repairs or replacements.
Energy Efficiency and Sustainability
Beyond its impressive durability, metal roofing materials hold significant appeal for environmentally conscious homeowners. Metal roofs are recognized for their energy efficiency, potentially leading to lower energy bills and a reduced carbon footprint. Their ability to reflect solar heat reduces the amount of heat transferred into the home, keeping it cooler naturally, particularly during warmer months.
The sustainability aspect of metal roofing materials extends to their manufacturing and end-of-life cycle. Many metal roofing options incorporate recycled content, minimizing the demand for virgin materials. Additionally, metal roofing is highly recyclable at the end of its long lifespan, diverting waste from landfills and reducing the overall environmental impact.
By opting for metal roofing, you’re not just making a choice for your home but also contributing to a more sustainable future. Its energy-efficient properties and recyclability align seamlessly with eco-conscious values, making it an increasingly popular choice for homeowners seeking both practicality and environmental responsibility.
Preparing for Your Metal Roof Installation
Before diving into the installation process, proper preparation is crucial. This involves gathering the essential tools and equipment, carefully selecting the most fitting metal roofing material, and ensuring accurate roof measurements. This preparatory stage lays the groundwork for a smooth and successful installation process.
Securing the necessary permits and arranging for inspections, if required in your locality, is another vital preparatory step. Additionally, consider the safety measures needed for working at heights, especially for multi-story homes. Equipping yourself with knowledge, tools, and a well-thought-out plan can make all the difference in achieving optimal results.
Essential Tools and Equipment
Having the right tools on hand is crucial for a successful metal roof installation. While some tools might already be in your arsenal, you might need to acquire or rent others specifically for this project. Organizing your tools beforehand ensures a smoother workflow and prevents unnecessary delays during the installation process.
Here’s a list of essential tools and equipment:
- Safety glasses and work gloves
- Ladder(s) and fall protection gear
- Tape measure, chalk line, and level
- Circular saw with a metal-cutting blade
- Tin snips for detailed cuts
- Drill/driver with a clutch
- Roofing screws and sealant tape
- Utility knife and pry bar
- Roofing underlayment and drip edge flashing
In addition to the list above, having a roofing nailer on hand can significantly expedite the installation of underlayment and flashing. When working with metal roofing, particularly for cutting, it’s essential to have a dedicated set of blades for your saw and shears. This prevents metal shavings from contaminating other materials during future projects.
Choosing the Right Metal Roofing Material
Choosing the appropriate metal roofing materials is pivotal for ensuring a durable and aesthetically pleasing outcome. With an array of options available, each boasting unique characteristics and price points, understanding their differences can help you make an informed choice.
Metal roofing panels, often available in steel, aluminum, and copper, provide strength and weather resistance. Steel, known for its affordability and resilience, often comes with protective coatings to prevent rust. Aluminum offers exceptional corrosion resistance, making it suitable for coastal areas. While pricier, copper develops a distinctive patina over time, adding a touch of elegance to any structure.
Apart from panels, metal shingles offer an alternative for homeowners seeking the timeless look of asphalt shingles with the durability of metal. Additionally, zinc roofing, prized for its longevity and natural weather resistance, presents another compelling option, particularly for standing seam or crimped roof designs.
Step-by-Step Guide to Metal Roof Installation
After thorough preparation, the actual installation of your metal roof can commence. While this guide provides a comprehensive overview, always refer to the manufacturer’s instructions for your specific metal roofing system. Safety should remain a top priority throughout the installation process.
Remember that installing a roof, particularly on larger structures, can be physically demanding and potentially dangerous. If you’re uncertain about any aspect of the process or uncomfortable working at heights, don’t hesitate to seek assistance from experienced professionals.
Step 1: Assessing Your Roof and Planning
Before ordering your metal roofing materials, accurate measurements are crucial. The total square footage dictates the quantity of materials required. For a basic gable roof, multiply the length of the roofline by the distance from the eave to the ridge, then double this figure. Include any dormers or other features in your calculations.
When ordering, adding 10% to your calculated square footage is advisable to account for waste and potential errors during installation. This ensures you have sufficient materials on hand to complete your new roof without delays.
Carefully inspect your roof deck for any signs of damage or rot. Address these issues before proceeding with the installation. A solid, structurally sound roof deck ensures the longevity and performance of your new metal roof.
Step 2: Installing the Underlayment
Begin by rolling out the underlayment horizontally, starting from the bottom edge of the roof and overlapping each row by at least 6 inches. This creates a barrier against moisture should any water penetrate the metal roof panels.
Secure the underlayment with roofing nails or staples, ensuring it lays flat against the roof deck. Properly installed underlayment provides a smooth surface for the metal panels, reducing the risk of noise and potential wear points.
If your roofing material is being installed over an existing asphalt shingle roof, consult local building codes and the metal roofing manufacturer’s recommendations. While some manufacturers allow installations over one layer of shingles, a complete tear-off might be necessary.
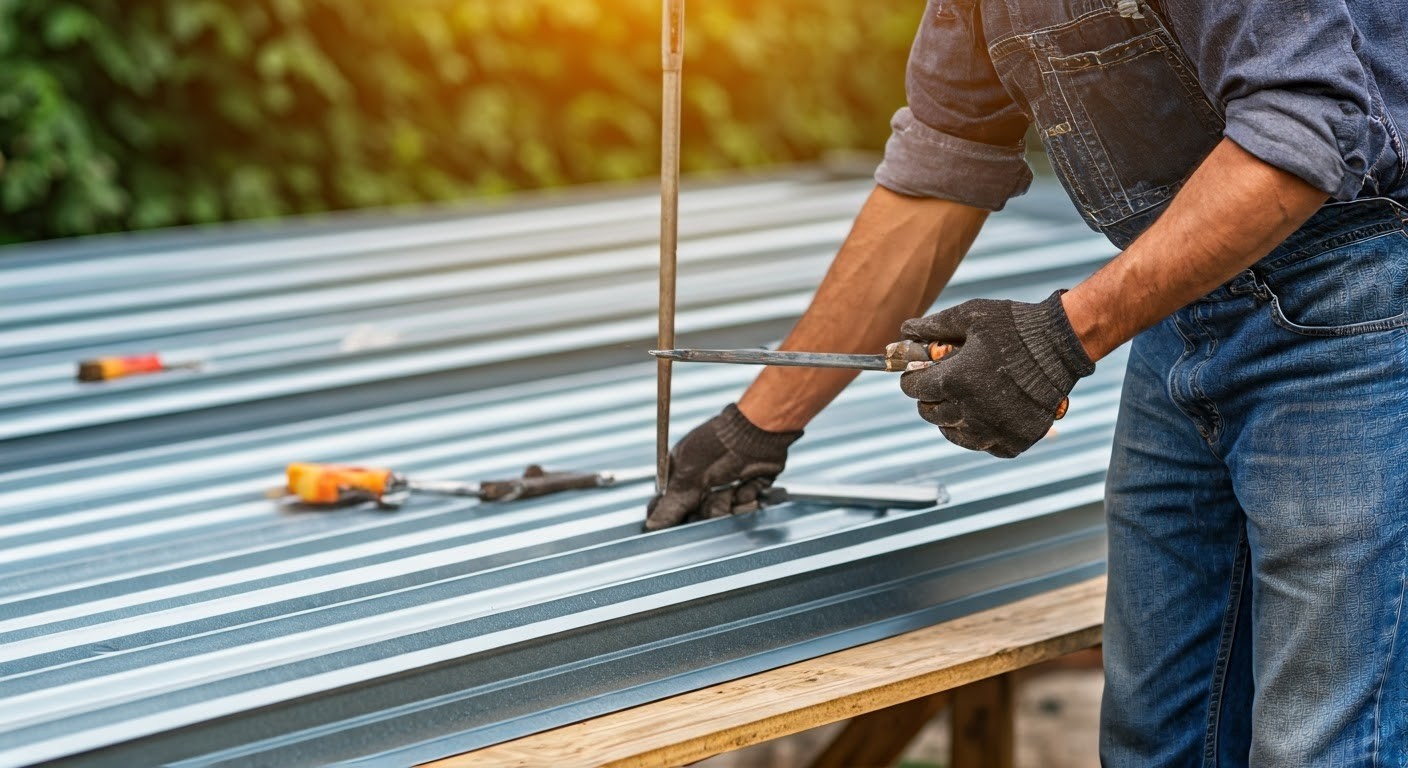
Step 3: Measuring and Cutting Metal Panels
Accurately measuring and cutting metal panels is crucial for achieving a professional-looking result. Double-check your measurements before making any cuts to minimize waste and prevent costly mistakes. Use a straight edge and a chalk line to mark your cut lines, ensuring they are square and precise.
Equip your circular saw with a blade specifically designed for cutting metal to ensure clean and accurate cuts. When cutting, direct the saw away from you to avoid potential injury. Wearing appropriate safety glasses is essential during this process.
For detailed cuts or trimming around obstacles like vents or chimneys, utilize tin snips. Take your time and make gradual cuts to maintain control and prevent damage to the metal panels.
Step 4: Securing Panels and Applying Sealants
Begin installing the metal panels from the bottom edge of the roof, working your way upwards. Align the first panel with the eave, ensuring it overhangs slightly. Depending on your specific metal roofing system, use either screws or concealed clips to secure panels to the roof deck. Always refer to the manufacturer’s recommendations for proper fastener type and placement to maintain warranty validity.
Apply sealant tape along all seams and overlaps between panels to create a watertight barrier. Additionally, apply sealant around any penetrations, such as vents or chimneys, to prevent leaks. Selecting a high-quality sealant designed for metal roofing ensures optimal performance and longevity.
When driving fasteners, avoid overtightening, which can cause damage to the panels and compromise the seal. Use a drill/driver with a clutch setting to ensure consistent tension and prevent distortion of the metal.
Step 5: Installing Flashings and Finishing Touches
Flashings, integral components of a watertight roofing system, direct water away from vulnerable areas. Install flashing around chimneys, vents, and skylights, ensuring a secure seal with the roofing panels. Use sealant or flashing tape to enhance protection against water intrusion.
Install the ridge cap, the final piece of your metal roof, over the top ridge of the roof. Overlap the ridge cap pieces and secure them with screws or clips, following the manufacturer’s instructions.
Here is an example of a text table outlining common flashing types:
| Flashing Type | Location | Purpose |
| Drip edge | Eaves and rakes | Prevents water from backing up under the roofing and protects the fascia board |
| Valley | Where two roof slopes meet | Channels water runoff toward gutters |
| Chimney | Around the base of a chimney | Creates a watertight seal between the chimney and roof |
| Vent pipe | Around vent pipes | Seals around vent pipes to prevent leaks |
Conclusion
In conclusion, a metal roof installation can offer unmatched durability, energy efficiency, and sustainability benefits. By following the step-by-step guide outlined here, you can ensure a successful installation process. From assessing your roof to applying sealants and finishing touches, each step plays a crucial role. Choosing the right metal roofing material and using essential tools are key preparations for a seamless installation experience. With its longevity and cost-effectiveness, a metal roof is a valuable investment for any homeowner looking for a reliable and eco-friendly roofing solution. If you’re ready to enhance your property with a metal roof, this beginner’s guide has got you covered.
At Metal Roof Mobile AL, we ensure our clients receive the best possible outcomes. Our commitment to quality workmanship and customer satisfaction is unwavering, making us the top choice for residential Roofing services in our community.
Frequently Asked Questions
What is the Average Cost of a Metal Roof Installation?
The average cost of metal roof installation varies significantly depending on factors like the size and complexity of the roof, the chosen metal (steel, aluminum, zinc), and geographic location. Homeowners can expect to pay between $5 to $14 per square foot.
How Long Does a Metal Roof Last Compared to Traditional Roofing?
Metal roof longevity surpasses traditional roofing materials significantly. Asphalt shingles typically last 15-20 years, while metal roofs, depending on the type (steel, aluminum, copper) and maintenance, can last 40 to 70 years or more.