
Key Highlights
- Standing seam metal roofs are durable, energy-efficient, and visually appealing, offering long-term value.
- Proper installation is critical for maximizing the lifespan and benefits of your new metal roof.
- This guide outlines the essential steps involved in installing a standing seam metal roof.
- Gathering the necessary tools, materials, and safety gear beforehand ensures a smoother installation process.
- While this guide offers a comprehensive overview, it’s recommended to consult with experienced roofing professionals for personalized guidance.
Introduction
A standing seam metal roof is an increasingly popular roofing system for homeowners seeking durability, energy efficiency, and an aesthetically pleasing look. While this comprehensive guide breaks down the installation process step-by-step, remember that professional installation is always recommended. By understanding the intricacies involved, you’ll be better equipped to approach your standing seam metal roof installation project.
Understanding Standing Seam Metal Roofs

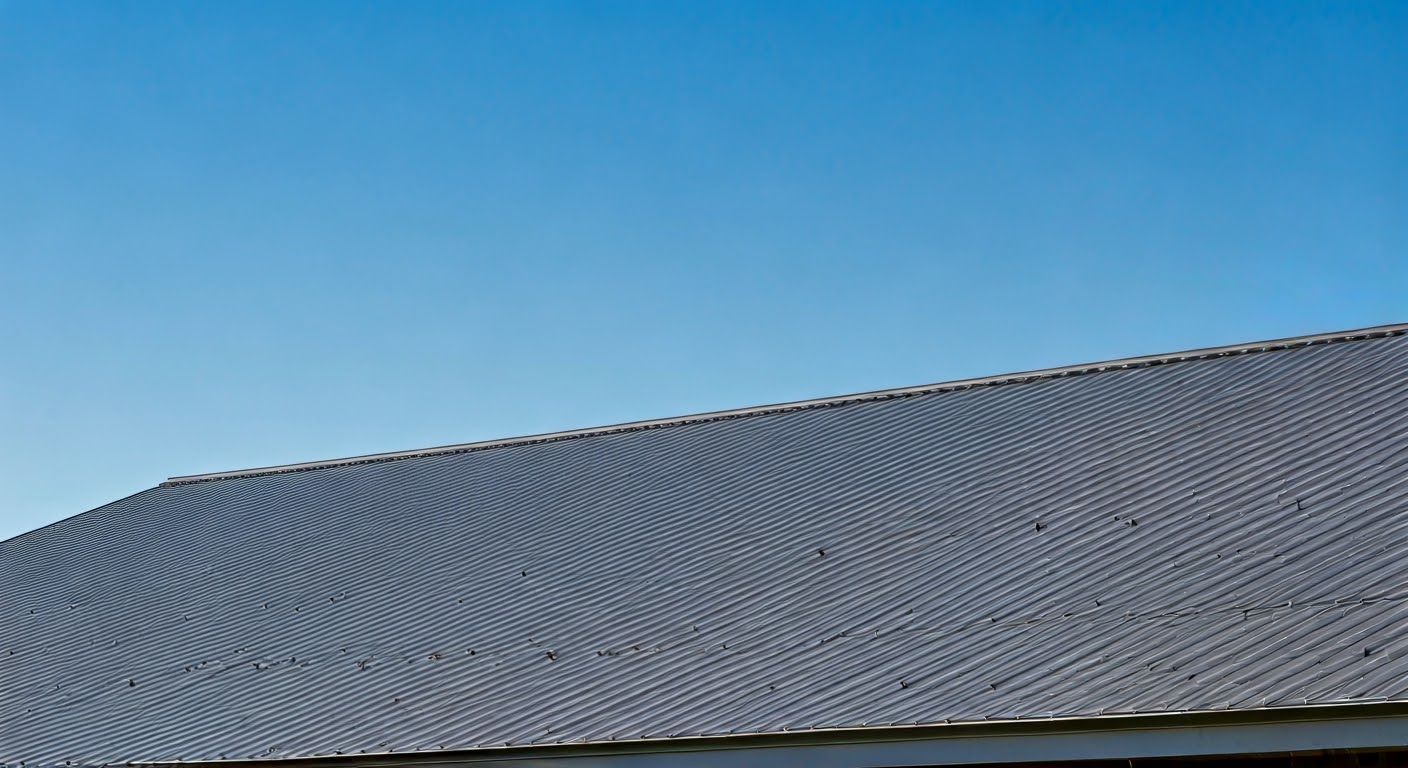
Standing seam metal roofing is a system where metal panels interlock at raised seams, creating a durable and weathertight barrier. Unlike traditional roofing materials, these seam panels aren’t fastened directly to the roof deck, but to clips, allowing for expansion and contraction with temperature changes. This unique design minimizes the risk of leaks and contributes to the roof’s longevity.
Standing seam metal roofing offers various options to suit different architectural styles and homeowner preferences. From the shape of the seam to the type of metal used, you can customize the look and performance of your roof.
The Benefits of Choosing Standing Seam for Your Home
Standing seam metal roofs are renowned for their exceptional durability, often lasting for decades with minimal maintenance. The raised seams and concealed fastener system provide superior protection against the elements, including wind, rain, snow, and UV rays.
Apart from their longevity, standing seam metal roofs are also highly energy-efficient. The metal panels reflect solar heat, reducing cooling costs in warmer months.
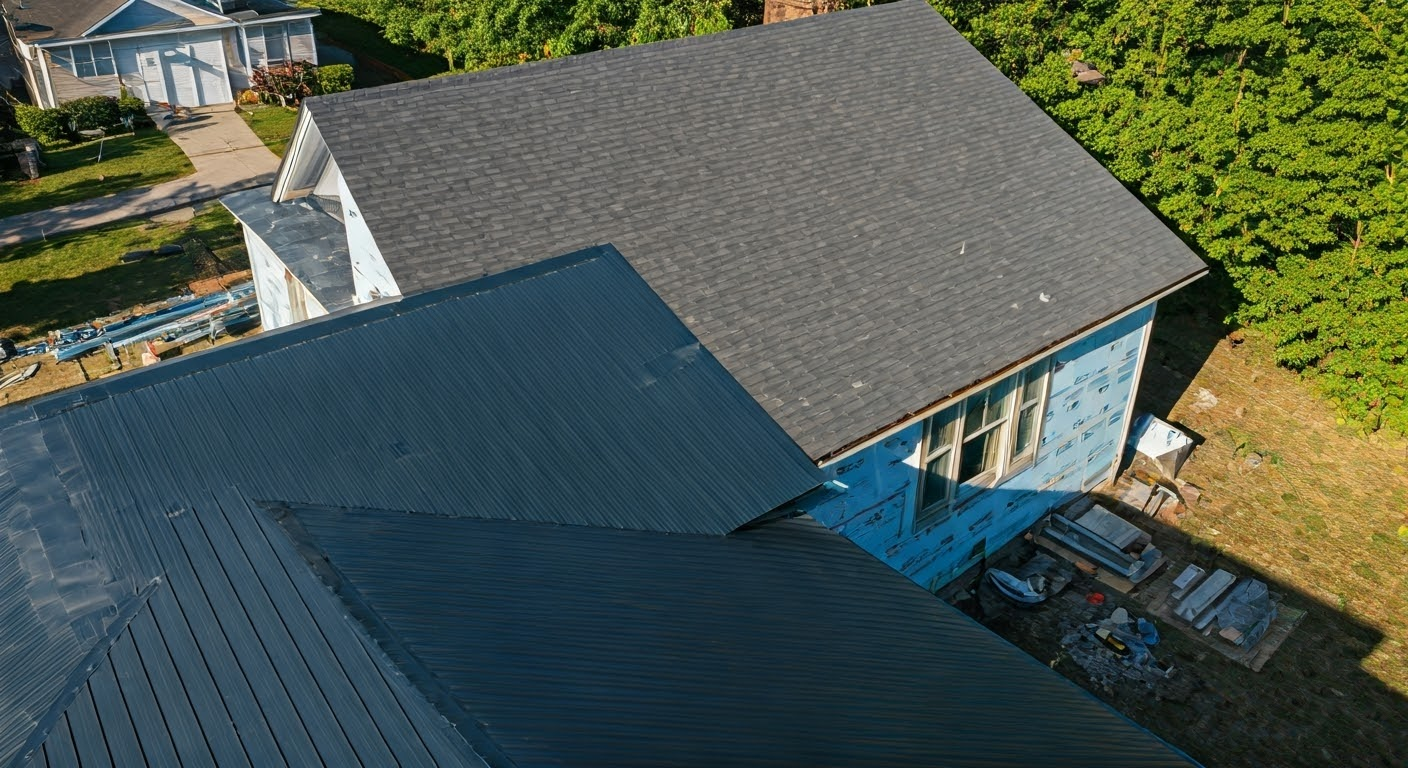
Beyond their functional advantages, standing seam metal roofs offer significant aesthetic appeal. These roofs can complement a variety of architectural styles, enhancing the curb appeal and value of your home.
Identifying the Components of Standing Seam Metal Roofs
Before diving into the installation process, it’s crucial to understand the different components that constitute a standing seam metal roof system. The roof deck serves as the foundation, providing the structural support for the entire system.
Attached to the roof deck is the drip edge, a crucial component that prevents water damage by directing runoff away from the roof’s edge and into the gutters.
Finally, the heart of the system lies in the metal panels themselves. These panels, available in various materials, finishes, and colors, are precisely engineered to interlock at the seams, creating a weather-resistant barrier.
Preparing for Your Standing Seam Metal Roof Installation
Proper preparation is crucial for any successful roofing project. Before you begin the standing seam metal roof installation, take the time to ensure you have all the necessary tools and materials readily available. This includes safety equipment, fasteners, underlayment, sealants, and of course, the metal panels themselves.
Moreover, thoroughly inspect your roof deck for any signs of damage, rot, or weakness. Addressing these issues before installing the new roof is essential for its longevity and overall performance. Neglecting these preliminary steps might lead to complications and costly repairs.
Tools and Materials You’ll Need
Having the right tools and materials on hand is vital for a smooth and efficient standing seam metal roof installation. Before you begin, make sure you have the following:
- Fasteners: These secure the metal panels to the roof deck. Choose fasteners designed specifically for metal roofing and ensure they are long enough to penetrate the decking material.
- Underlayment: This layer of protection sits between the roof deck and the metal panels, acting as a secondary barrier against moisture. Opt for a high-quality, breathable synthetic underlayment.
- Coils: Standing seam metal roofs are often available in coil form, allowing for custom-cut panels on-site. This ensures a precise fit and minimizes waste.
Beyond these essential components, additional materials like sealants, flashing, and closures are needed to finish the job correctly.
Safety Measures and Best Practices
Working on a roof demands strict adherence to safety guidelines. Prioritize safety and equip yourself with the right gear, including a safety harness, non-slip footwear, and gloves. Secure ladders properly and have a partner assist you whenever possible.
Understanding and implementing best practices during the installation will enhance both your safety and the roof’s performance. Adequate ventilation is crucial for preventing moisture build-up in the attic, which can compromise the roof’s integrity over time. Make sure to install proper ventilation components.
Remember that a well-ventilated roof contributes to a more comfortable and energy-efficient home, as well.
Step-by-Step Guide to Installing Standing Seam Metal Roofs
Now that you’ve prepared your roof and acquired the necessary materials, it’s time to begin the installation process. The following sections will guide you through each step, providing insights for a successful outcome.
Keep in mind that these are general guidelines, and specific details might vary based on your chosen materials and roof design.
Step 1: Measuring and Planning Your Roof Layout
The first step in any successful roof installation is meticulous planning. This involves accurately measuring your roof’s dimensions to determine the required materials and plan the panel layout.
Carefully measuring the roof’s length, width, and slope ensures you order enough materials without excessive waste. Once you have accurate measurements, you can decide on the panel layout, considering factors like roof pitch, panel length, and desired aesthetics.
Proper planning during this stage sets the foundation for a smooth and efficient installation, minimizing the potential for unexpected issues later on.
Step 2: Installing the Underlayment
With your roof layout meticulously planned, the next step is installing a high-quality underlayment. This crucial layer acts as a final defense against any potential leaks, protecting your home from moisture damage. Begin by stripping off any old roofing materials, ensuring a clean and even surface for the underlayment.
Next, roll out the synthetic underlayment, starting from the eaves and overlapping each subsequent layer by at least 6 inches. Secure the underlayment with specialized roofing nails or staples, ensuring a taut and wrinkle-free installation.
Remember that the underlayment should also extend up the roof valleys, forming a watertight barrier in these vulnerable areas.
| Underlayment Type | Description |
|---|---|
| Synthetic Underlayment | Breathable, water-resistant, and durable, ideal for most climates. |
| High-Heat Ice and Water Shield | Self-adhering membrane that provides extra protection in areas prone to ice dams. |
Step 3: Attaching the Metal Panels
With the underlayment securely in place, the spotlight shifts to attaching the star of the show—the metal roof panels. Carefully lift the first panel onto the roof, aligning it with the eave and gable edges. This initial panel sets the benchmark for the entire installation, demanding precise positioning for a straight and uniform appearance.
Secure the first panel to the roof deck using specialized clips, strategically placed along the panel’s seam. These clips, concealed beneath the panels, allow for thermal movement, preventing stress and potential damage to the roof.
As you continue installing subsequent panels, ensure they interlock snugly with the previous ones. This secures a weathertight seal and contributes to the roof’s overall strength and durability.
Step 4: Securing the Seams
With the metal panels meticulously aligned and attached, focus your attention on securing the seams, creating a watertight barrier. The type of seam determines the fastening method. In a mechanical seam, specialized tools crimp or snap the seam together, securing the panels tightly.
Alternatively, a Z-bar flashing system might be employed. This involves installing continuous Z-shaped metal pieces along the roof’s ridges and valleys, providing a secure attachment point for the panel edges.
No matter the seam type or fastening method, pay close attention to detail during this step. Properly secured seams are crucial for preventing leaks and ensuring the longevity of your standing seam metal roof installation.
Step 5: Finalizing the Edges and Ridge Cap
Finishing touches, though seemingly minor, hold immense importance in ensuring a watertight barrier and polished appearance. Begin by installing the ridge cap, a crucial element that protects the roof’s peak from the elements. Carefully align and secure the ridge cap over the seam where the roof panels converge.
Next, direct your attention to the eaves, installing flashing along the lower edge to prevent water intrusion. The flashing should overlap the drip edge, ensuring proper water drainage.
Finally, caulk any exposed fasteners or gaps with a high-quality sealant, creating a complete and weathertight seal.
Conclusion
In conclusion, installing standing seam metal roofs can significantly enhance your home’s durability and aesthetics. With proper preparation, safety measures, and step-by-step guidance, you can successfully complete this project. The benefits of choosing standing seam roofs are numerous, including longevity and energy efficiency. Understanding the components and installation process is key to a successful outcome. By following best practices and utilizing the right tools, you can enjoy a roof that not only protects your home but also adds a modern touch. If you’re considering upgrading to standing seam metal roofing, this guide has provided you with the essential knowledge to get started.
At Metal Roof Mobile AL, we ensure our clients receive the best possible outcomes. Our commitment to quality workmanship and customer satisfaction is unwavering, making us the top choice for residential Roofing services in our community.
Frequently Asked Questions
What is the Lifespan of a Standing Seam Metal Roof?
Standing seam metal roofs are known for their exceptional lifespan, often exceeding 40 years with minimal maintenance. This impressive durability stems from their inherent weather resistance and the concealed fastener system, which minimizes exposure to the elements.